Follow these steps to create, customize, publish, and share your first Formflow form.
1. Start a New Form
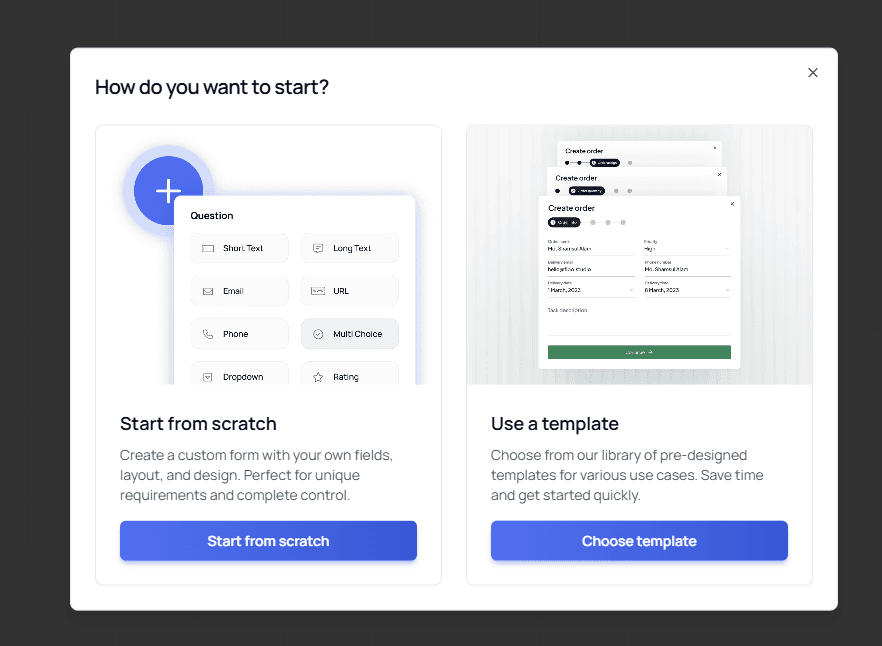
Click Create My First Form.
A modal will appear, asking whether you want to:
Start from scratch, or
Use a template
For this example, choose Start from scratch.
Tip: If you're new to Formflow, starting from scratch helps you understand how the Canvas works. Once you're familiar, templates can save time when building more complex forms.
You will be redirected to the Canvas, where you can begin building your form.
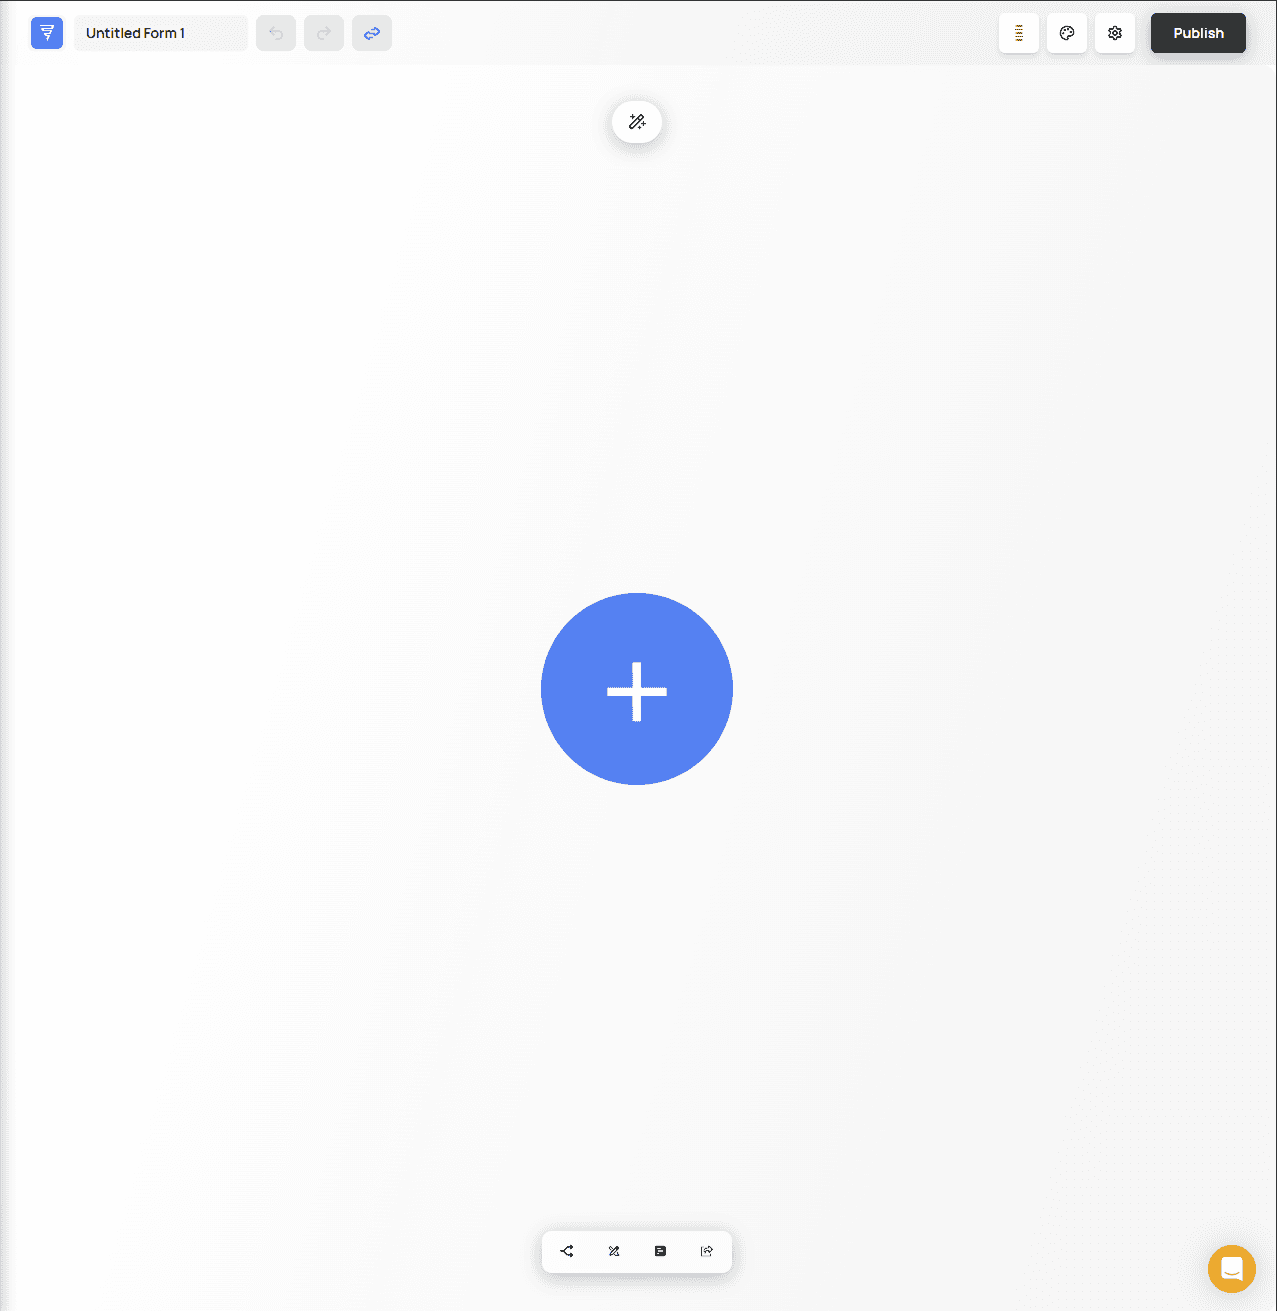
2. Add Your First Question
Click the large + button to open the Elements Menu.
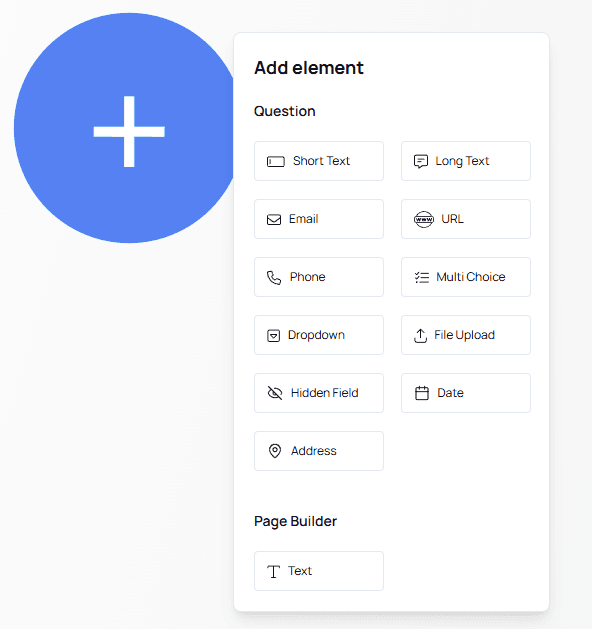
Select Short Text. A new question node will appear on the canvas.
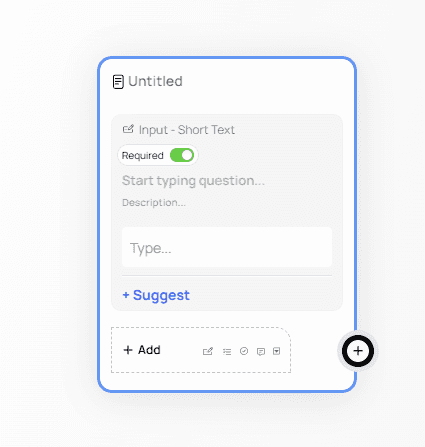
Enter your question text, for example:
“What is your name?”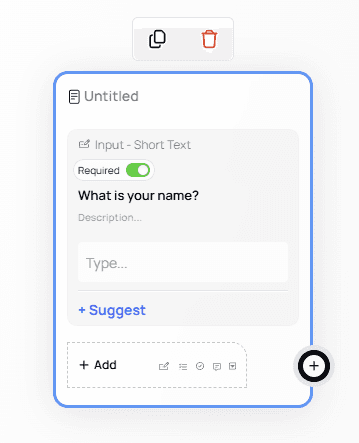
3. Add an Ending Step (Terminal Node)
⚠️ Important: Every flow must end with a terminal node.
Without one, your form cannot be published. Terminal nodes signal that the user has reached the end of the form or a specific branch.
To complete a flow, each branch must end with a terminal node.
Click the + button on the bottom right of your question node.
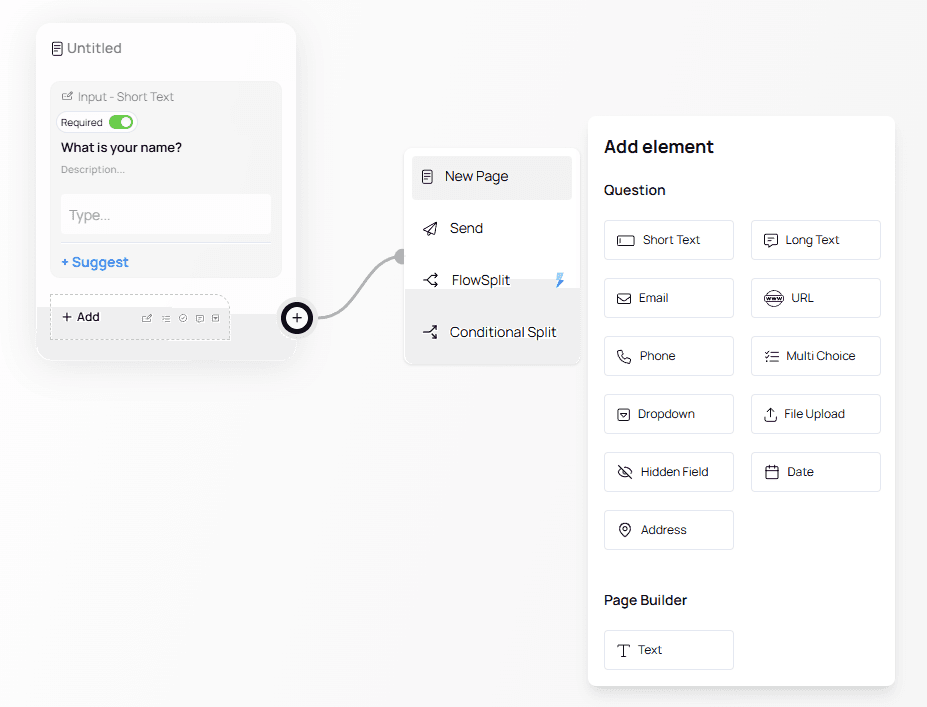
In the menu that appears, choose Text under the Page Builder section.
The Text node is used to display a message to the user (not a question).
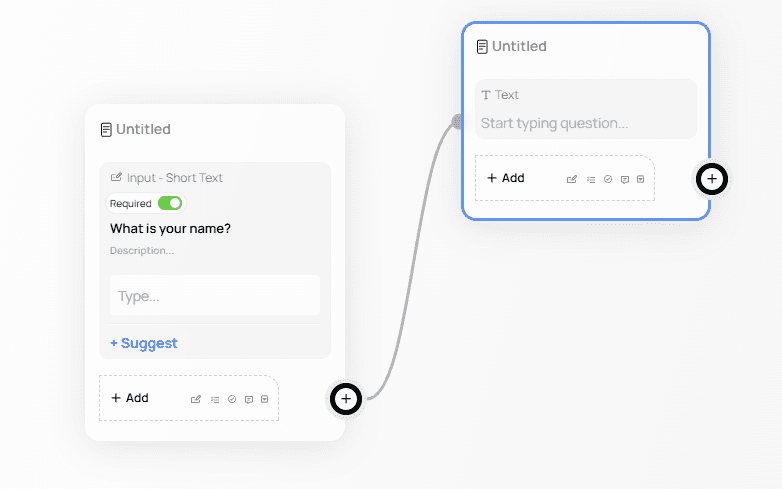
Add the message you want to show — for example:
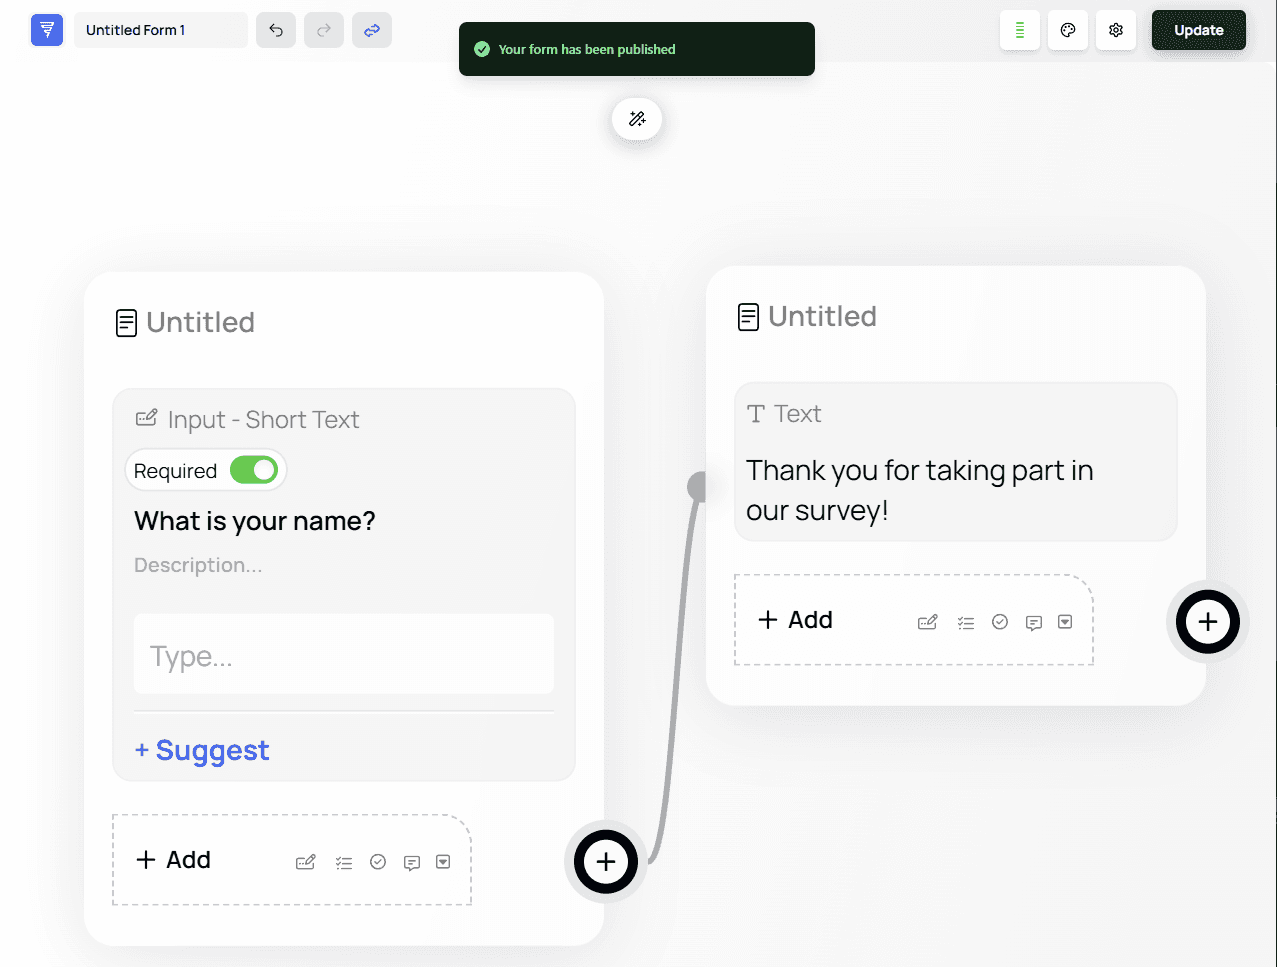
"Thank you for for taking part in our survey!"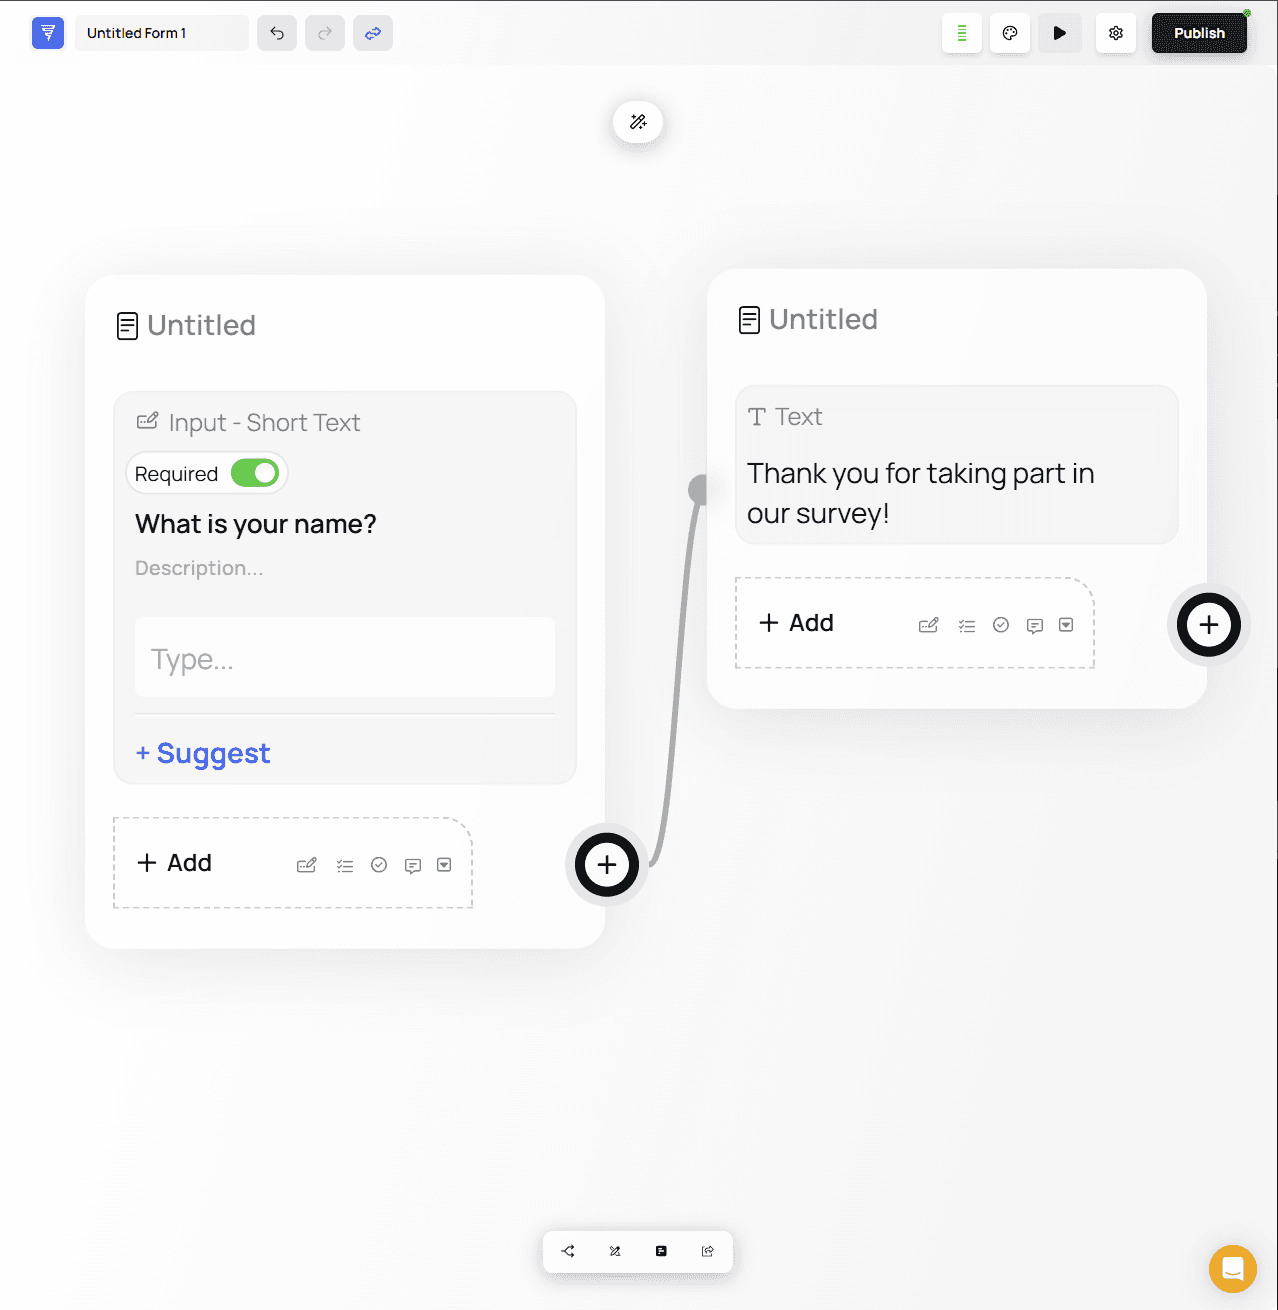
💡 Tip: Text nodes are great for confirmations, instructions, and closing messages. They display information to the user without requiring an answer.
For more information, see: Terminal Node Guide (link to documentation section).
4. Publish Your Form
Once you’ve completed your flow:
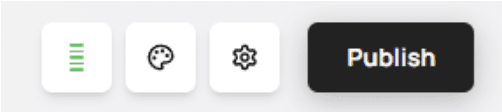
Click the Publish button in the top-right corner of the screen.
If your form has no issues, a success message will appear.
⚠️ Warning:
If publishing fails, look for incomplete branches or missing terminal nodes. Errors will be highlighted directly on the canvas to help you resolve them quickly.
5. Share Your Form
To access sharing options:
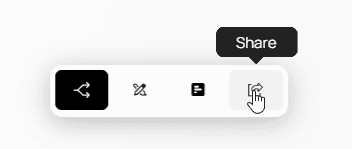
Use the island menu at the bottom of the canvas and navigate to the Share page.
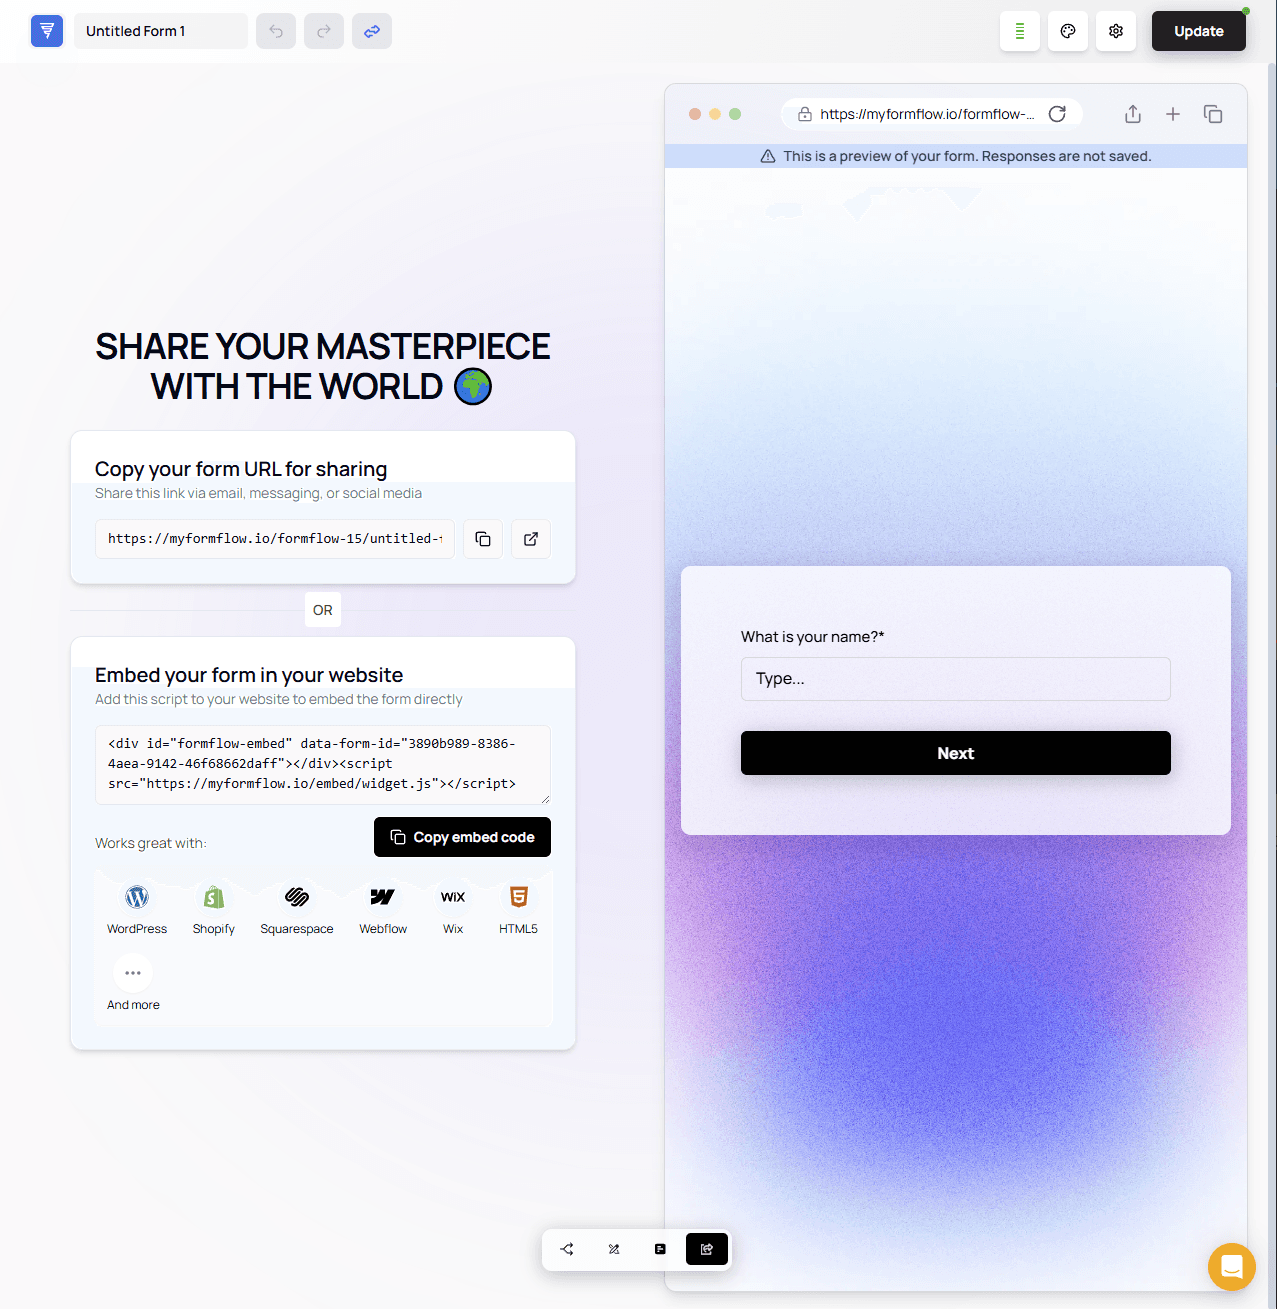
On the Share page, you can:Copy your public form link, or
Embed the form on your website using the provided embed code
A live preview of your form appears on the right side so you can test the user experience before sharing.
🎉 You’ve Created Your First Form!
That’s all you need to build, publish, and share your first Formflow form.
You're ready to explore more features and logic to create powerful, interactive forms.