What is Zapier?
Zapier is an automation platform that lets you connect your apps and automate workflows with no code required. With Zapier, you can set up Zaps that trigger actions in one app whenever something happens in another. In this case, every time someone submits a Formflow form, Zapier will automatically send that data to a row in your Google Sheet.
Prerequisites: Formflow account, Google account, Zapier account.
Setting up a new google sheet:
Navigate to https://docs.google.com/spreadsheets, log in using your google account, and create a new spreadsheet or use an existing spreadsheet.
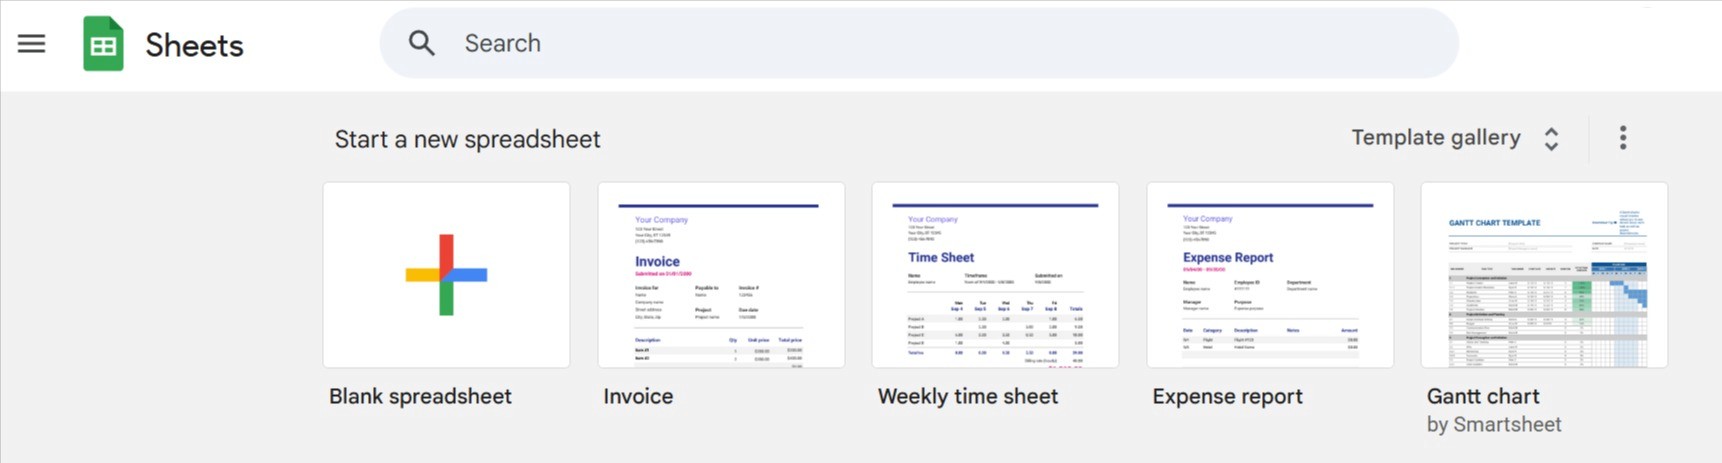
We will create a new spreadsheet for this instance by selecting the blank spreadsheet option.
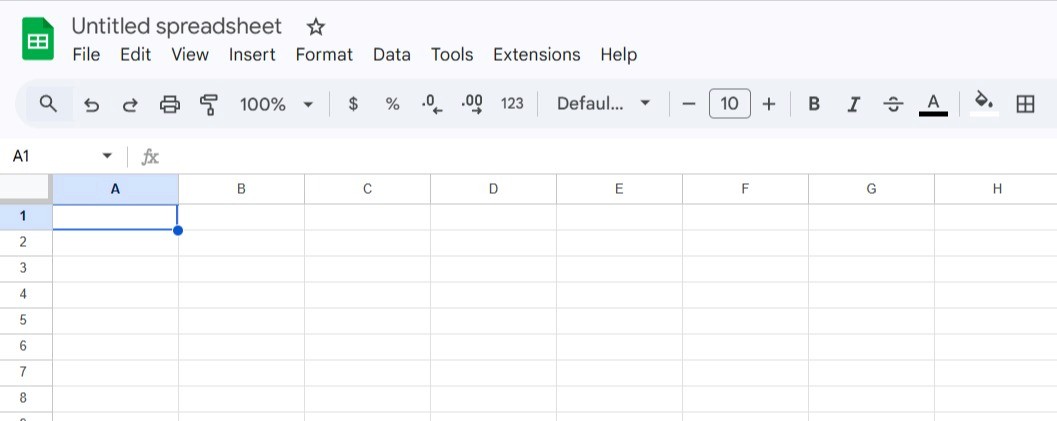
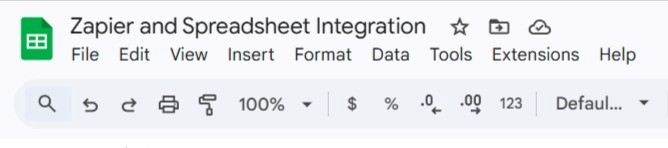
You can rename it in order to be easier to find later.
Setting up Zapier:
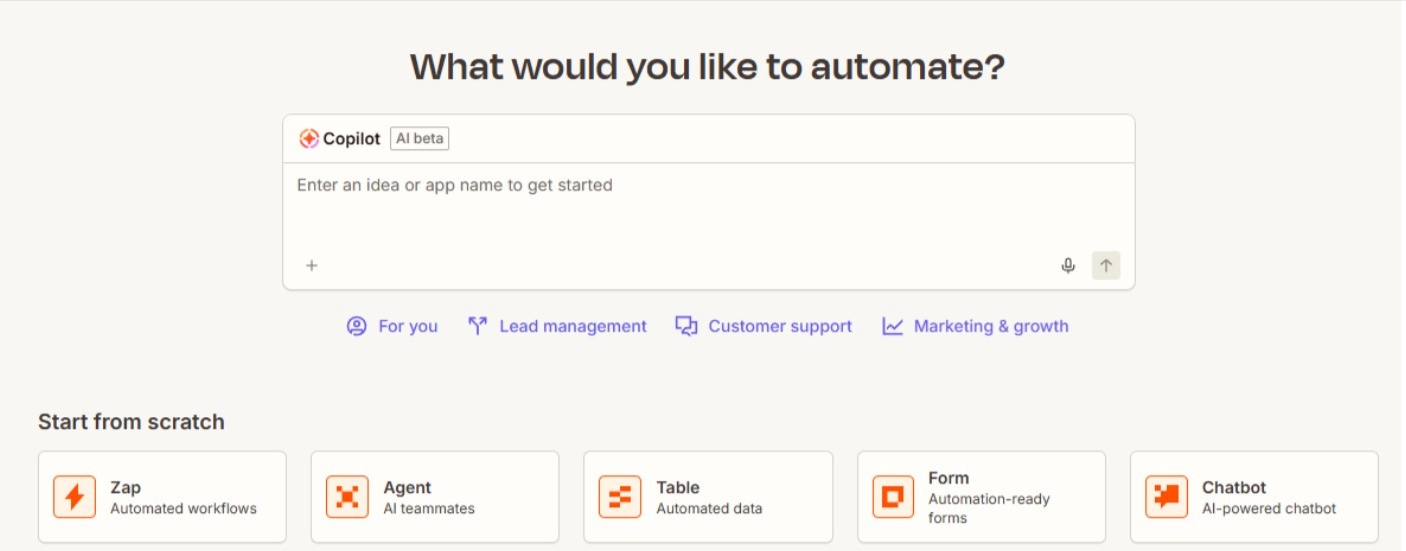
Navigate to https://zapier.com/ and log in using your preferred method.
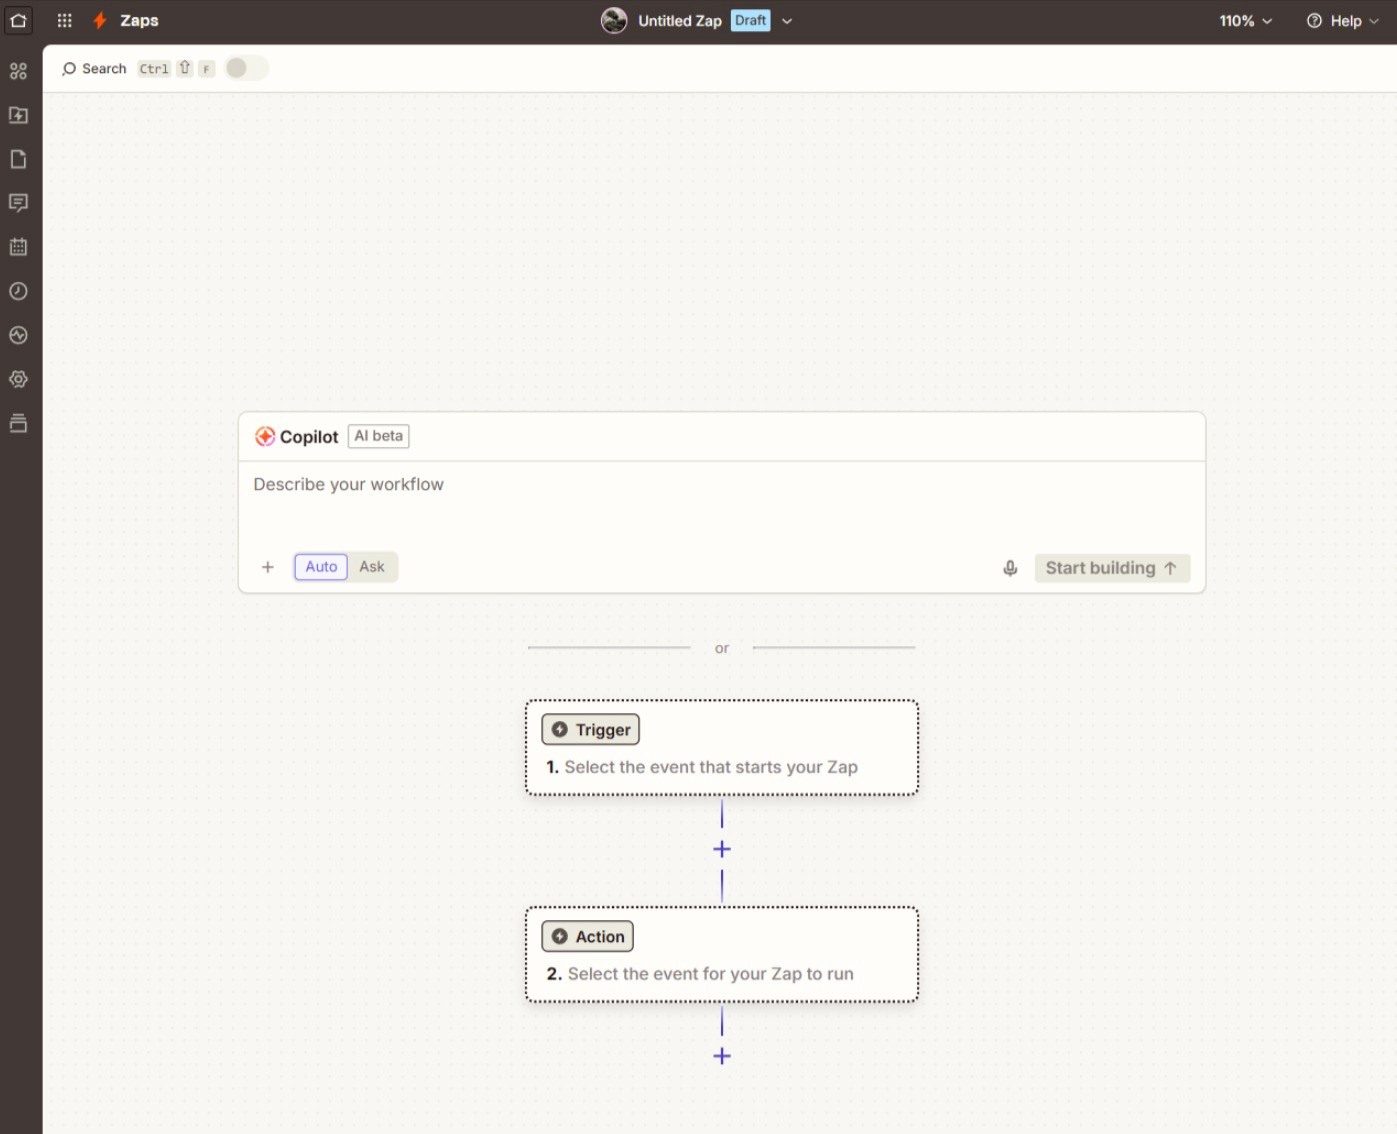
Tell the A.I. Copilot what your use case is, or in our case we will start from scratch by selecting the Zap option.
We will be redirected to the Zap editor:
Click the Trigger module and select the webhook option.
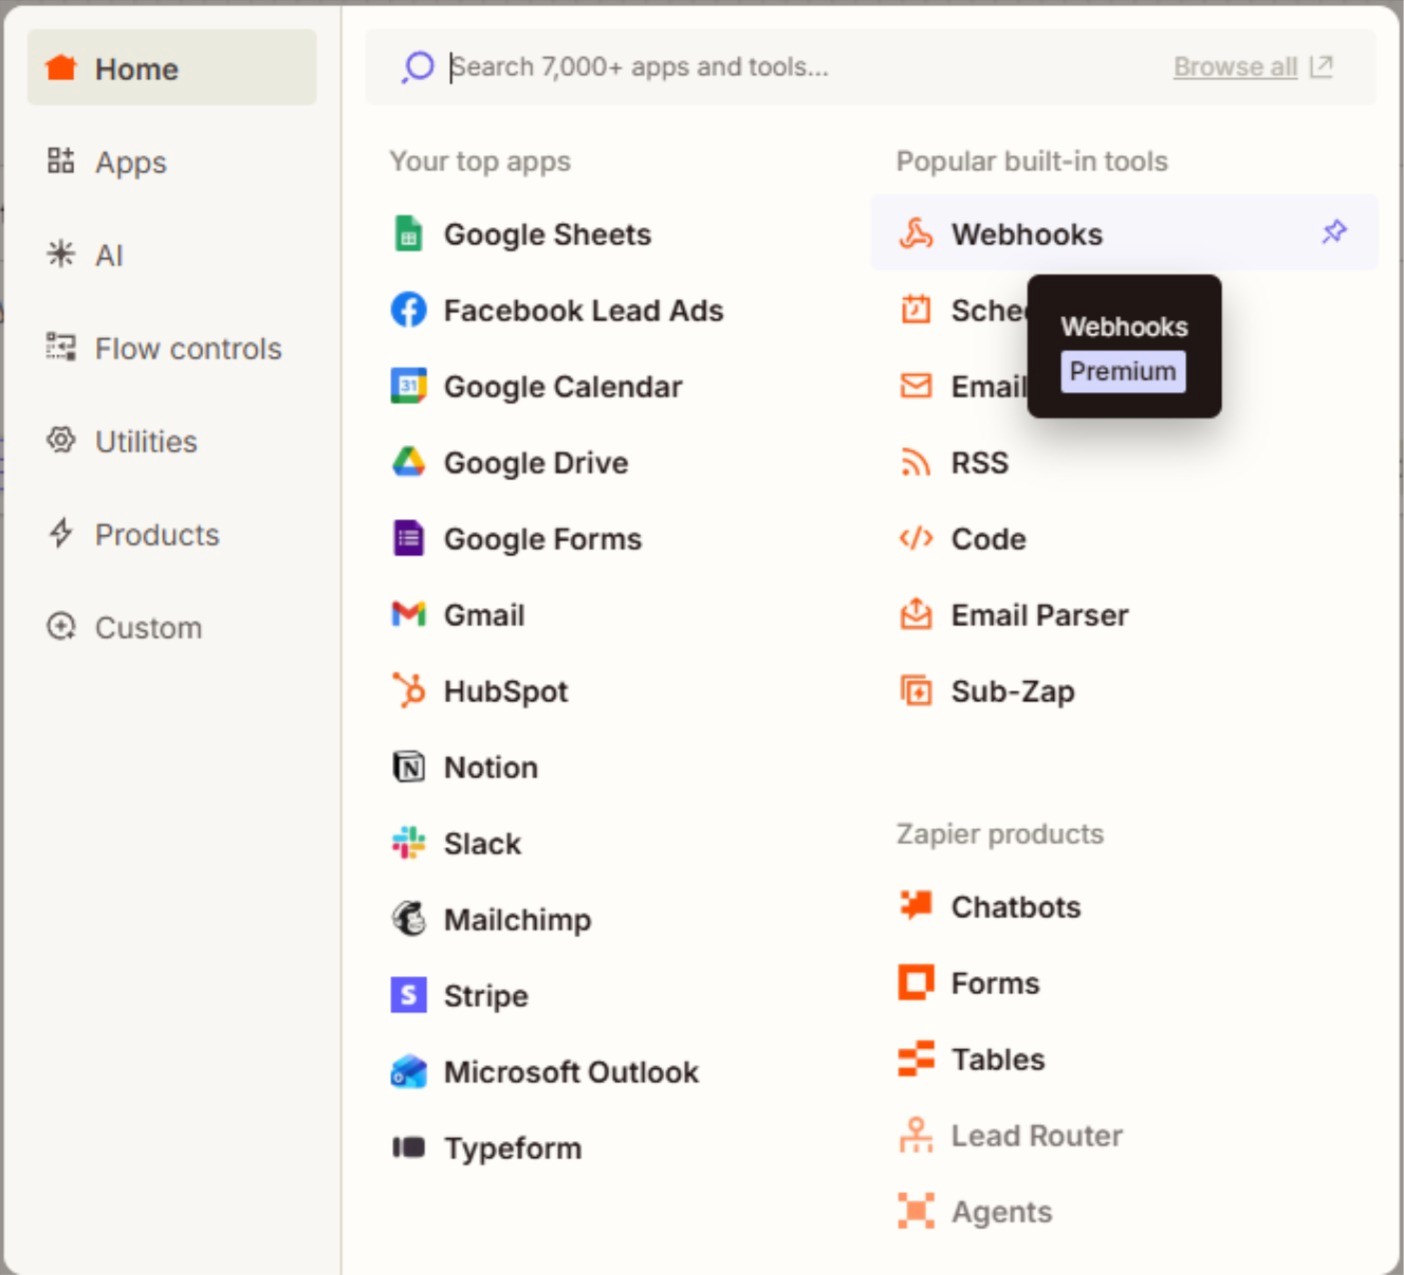
(Note: In Zapier, the webhook option is a premium feature)
After that, we will be met with the following menu:
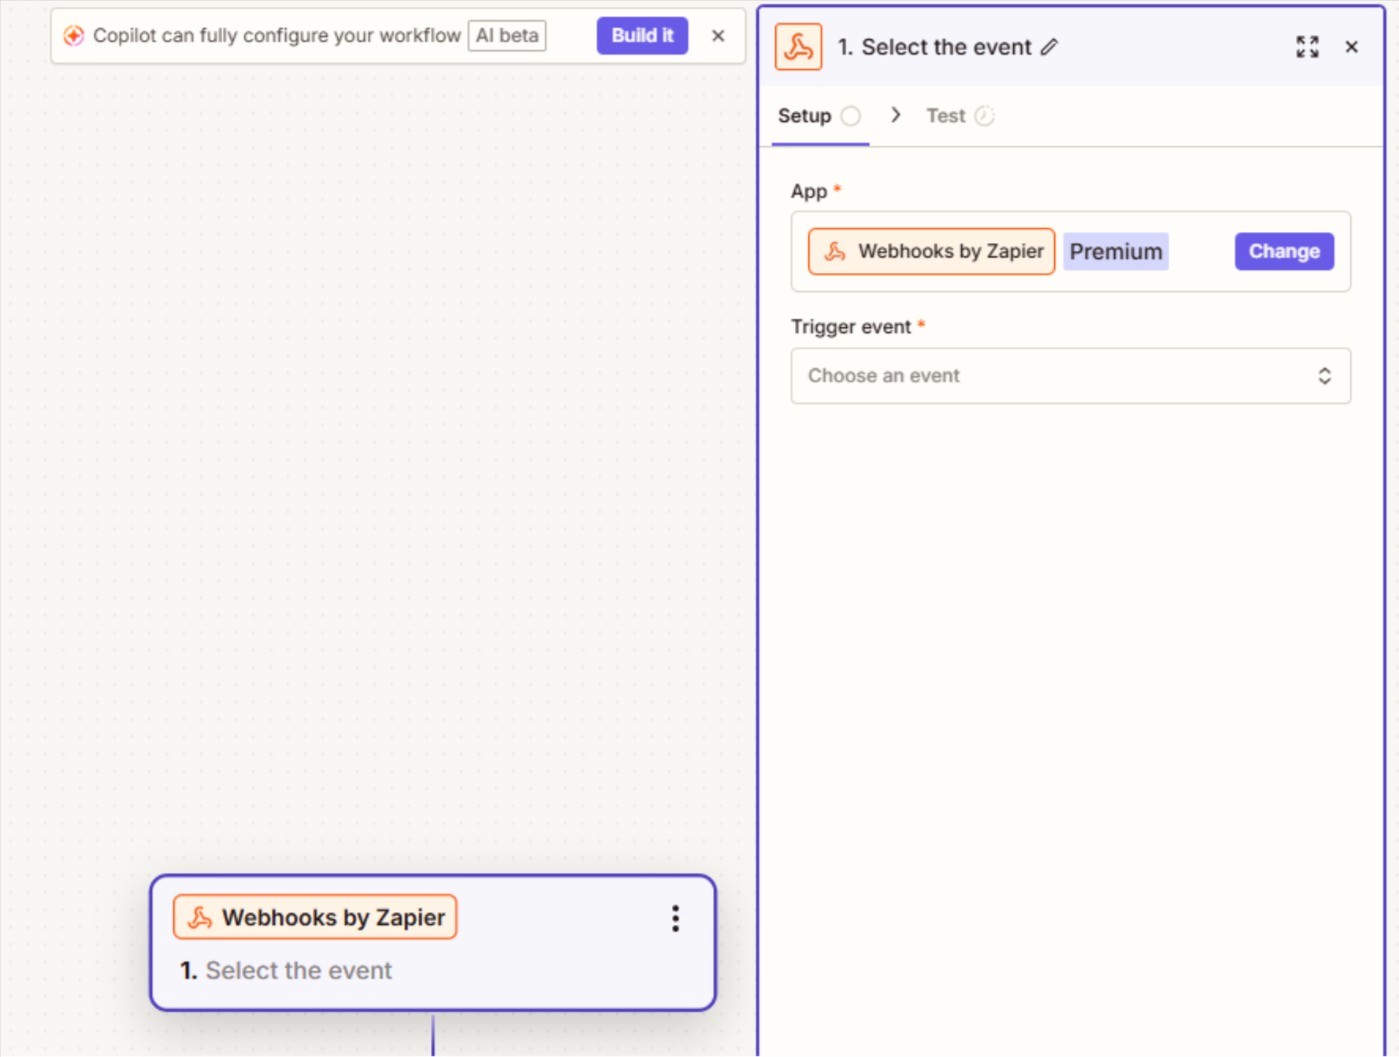
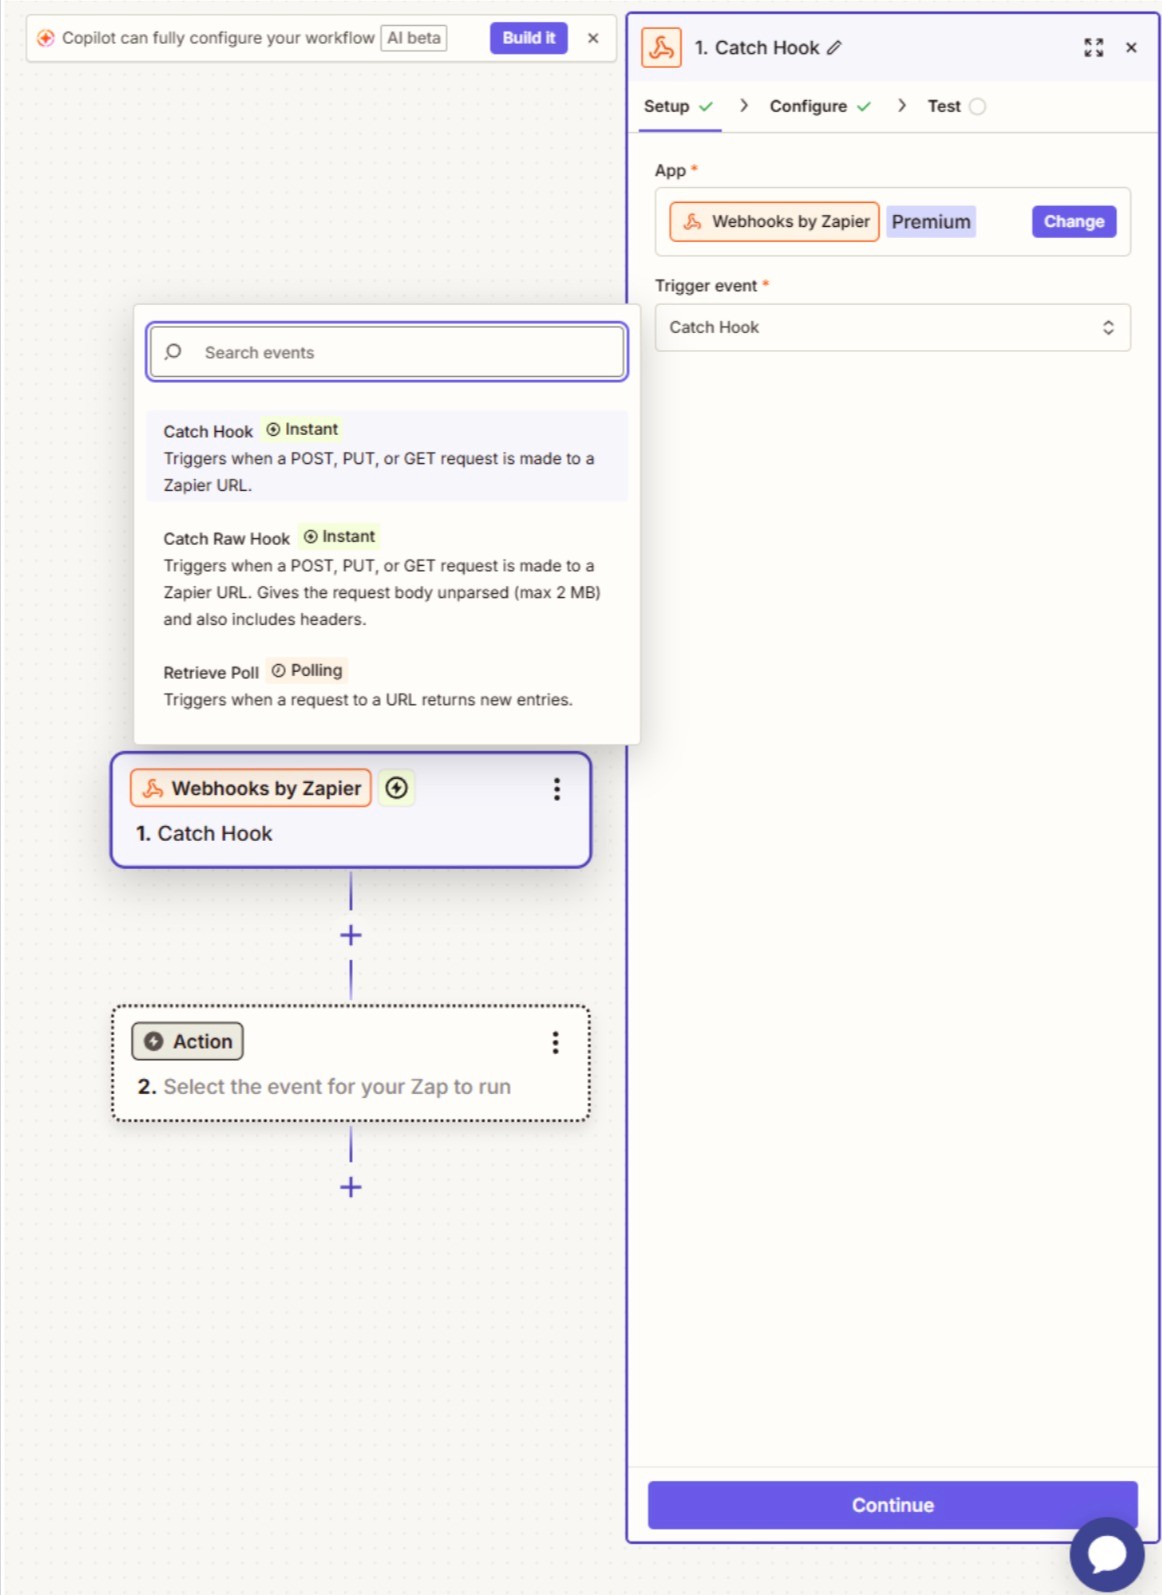
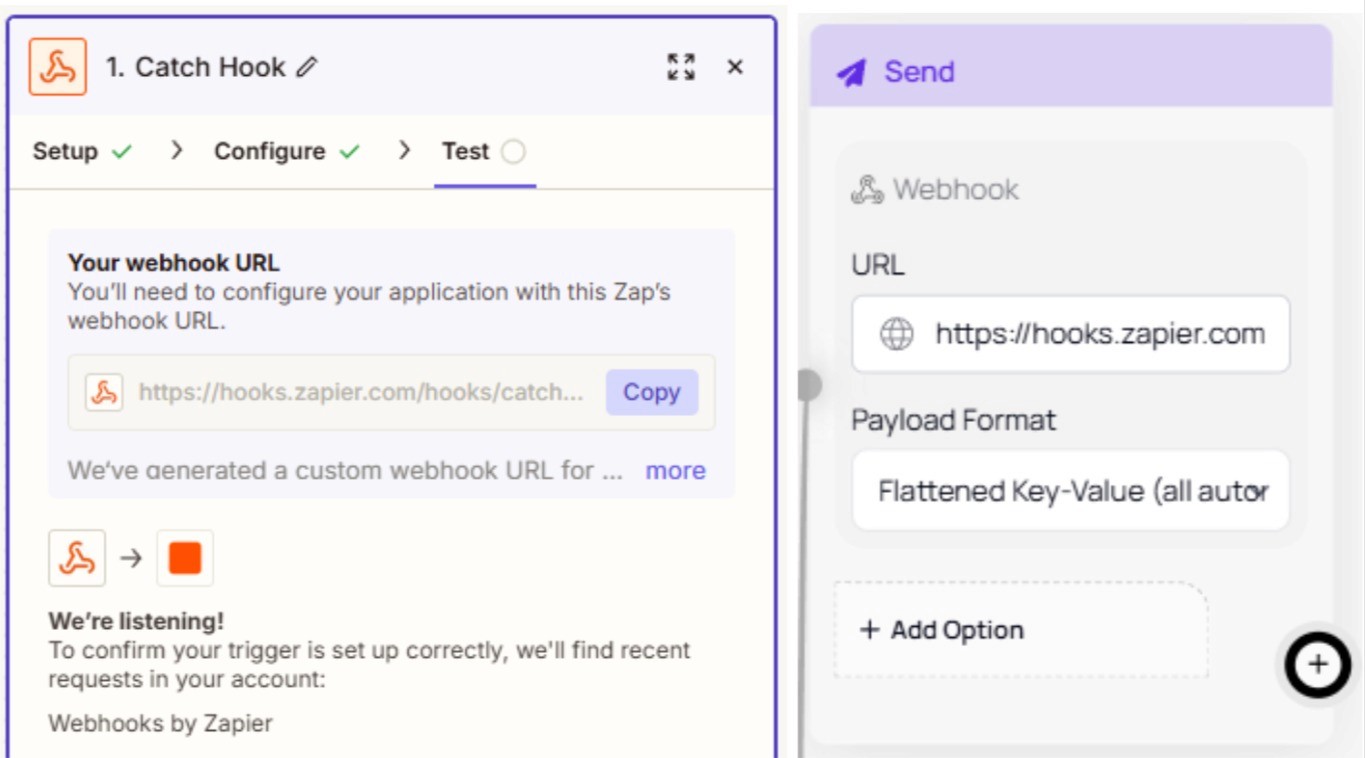
Select the Trigger Event input, and select the Catch a hook option and click continue:
In case you want to trigger the webhook on a specific data from a payload, select it in this menu, otherwise, if you want the entire payload, just click continue.

Copy the generated URL and paste it inside the webhook node inside your Formflow form.
Don’t forget to update your form for the changes to persist.

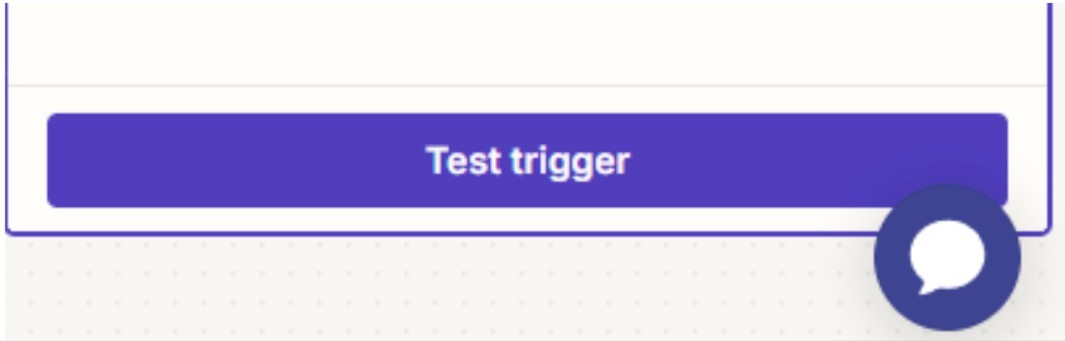
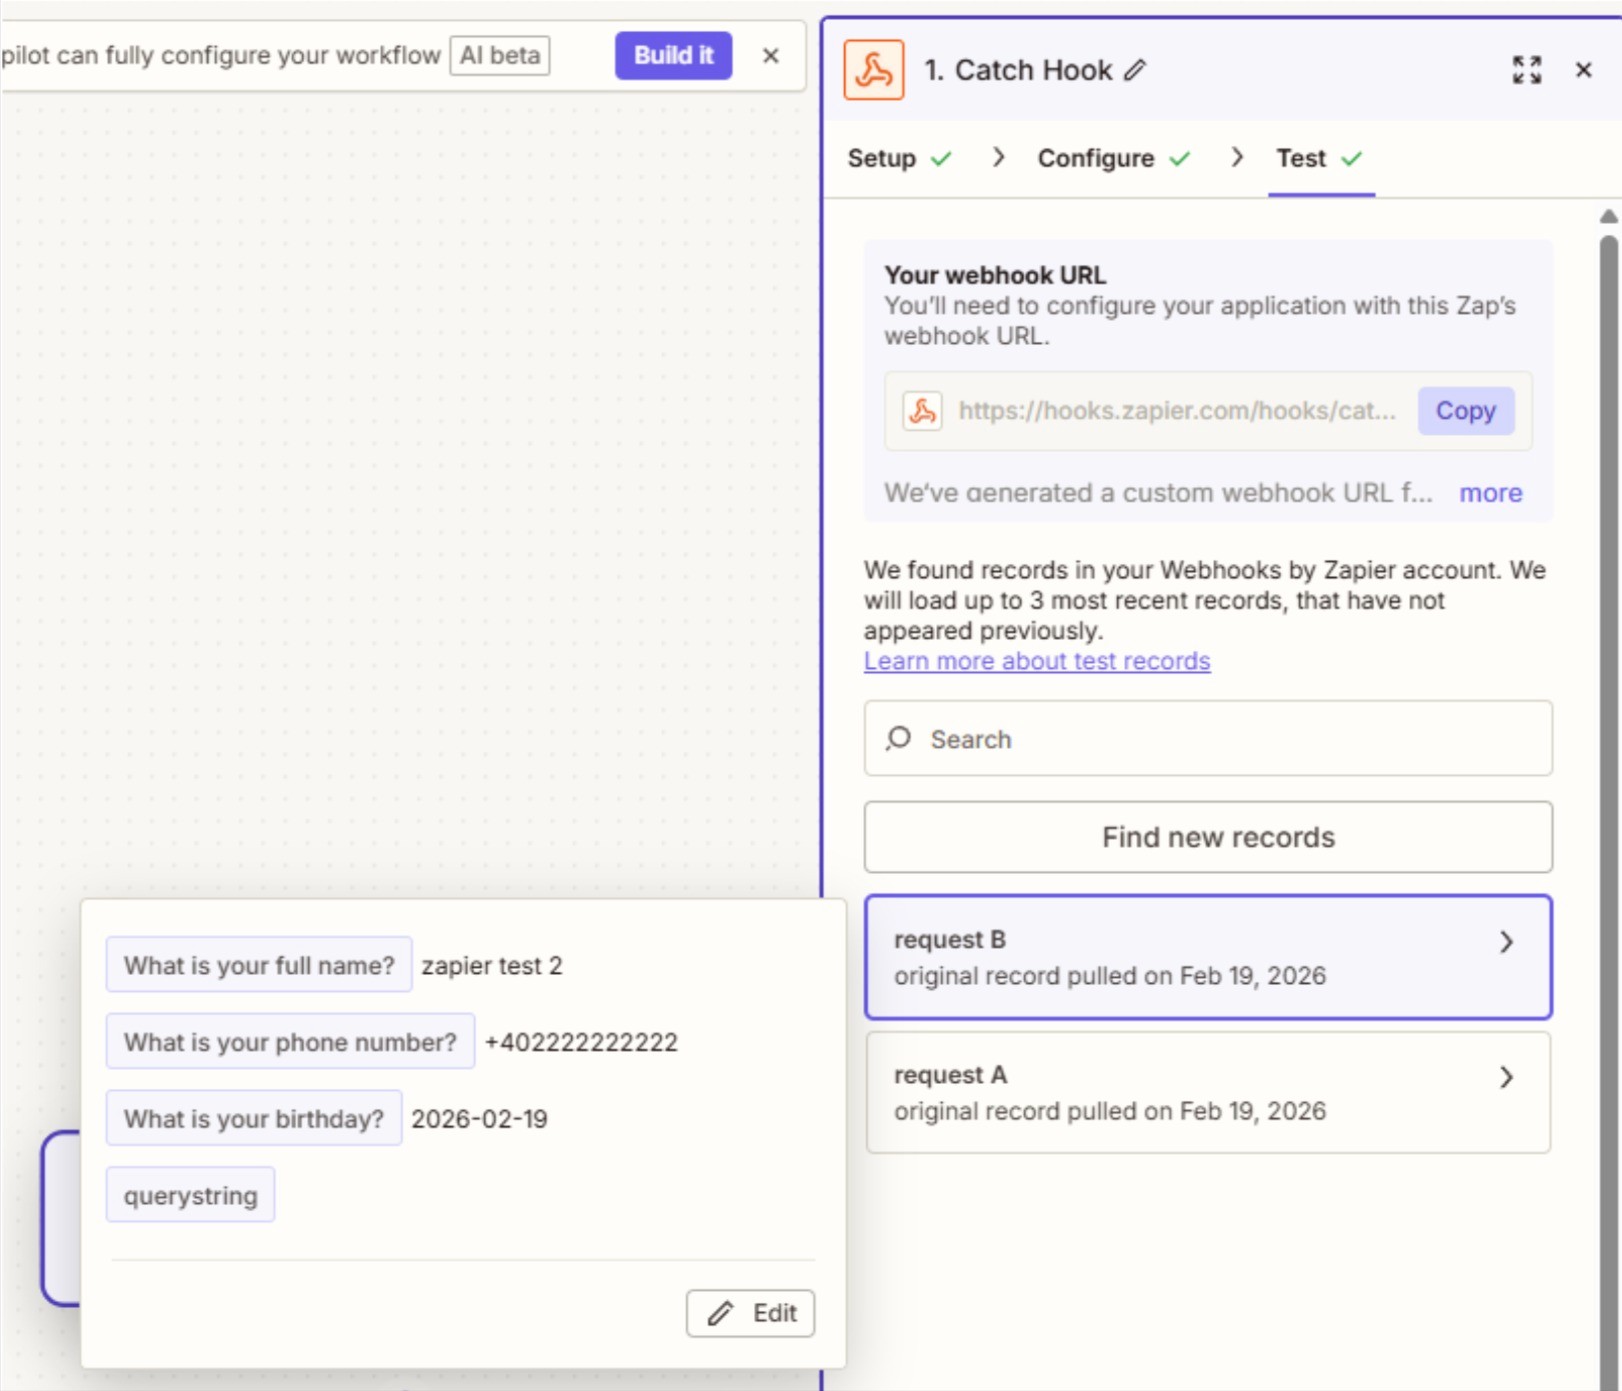
Click the Test Trigger option and complete a form submission to test if the webhook is set up properly.
If the test is successful, a record will appear in the webhook menu.
Now when we click Continue, we will be prompted to select a new module. We will choose the Google Sheets option.

Click the Account option inside the right hand side menu and select the google account with the sheet we’ve made previously.
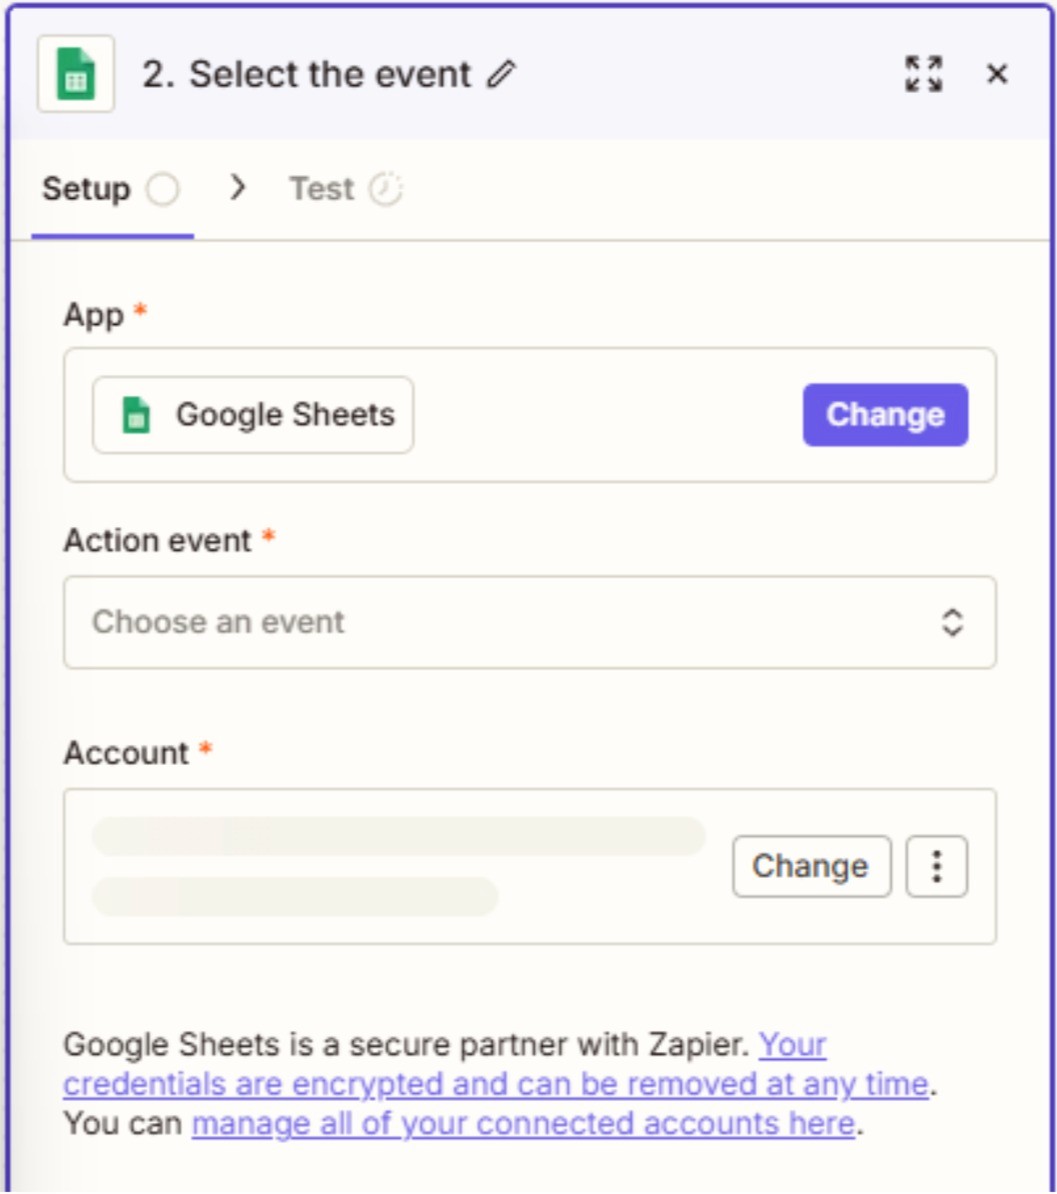
Now select the event you wish to use. (The action you wish to happen inside the Google Sheet).
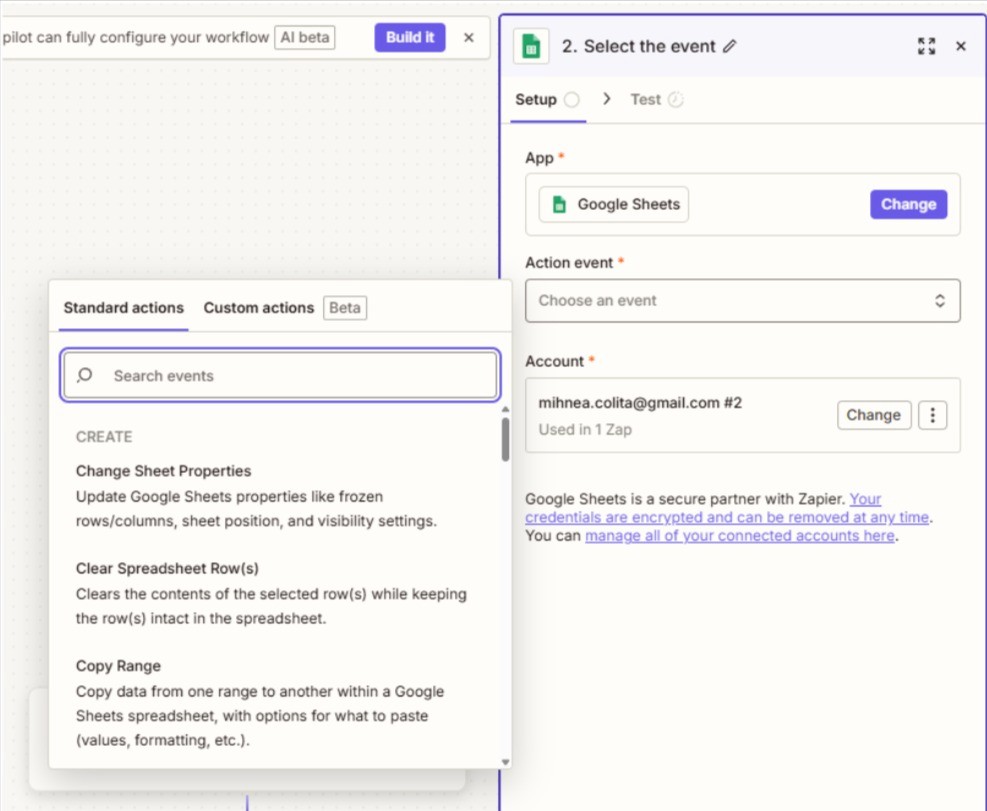
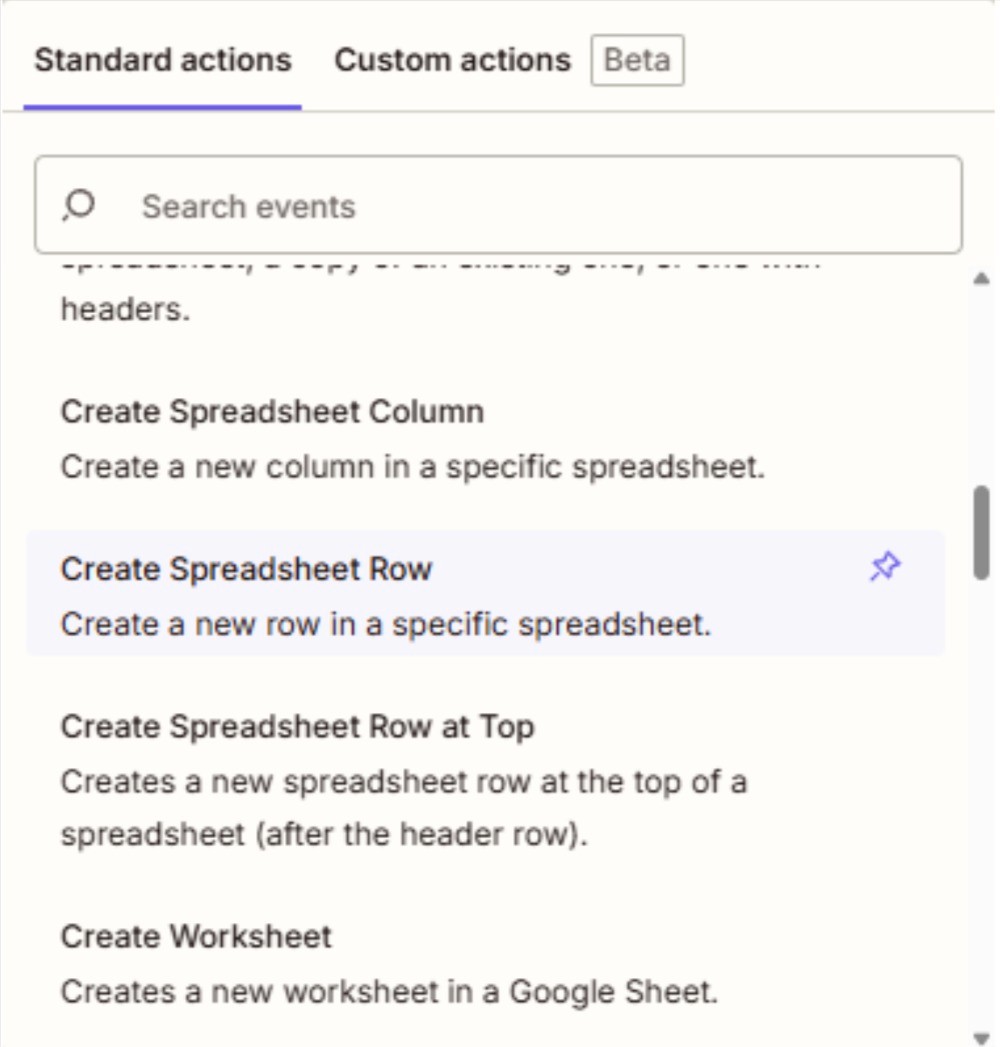
We will scroll down and select the Create Spreadsheet Row option and click Continue:
Now this new menu becomes available:
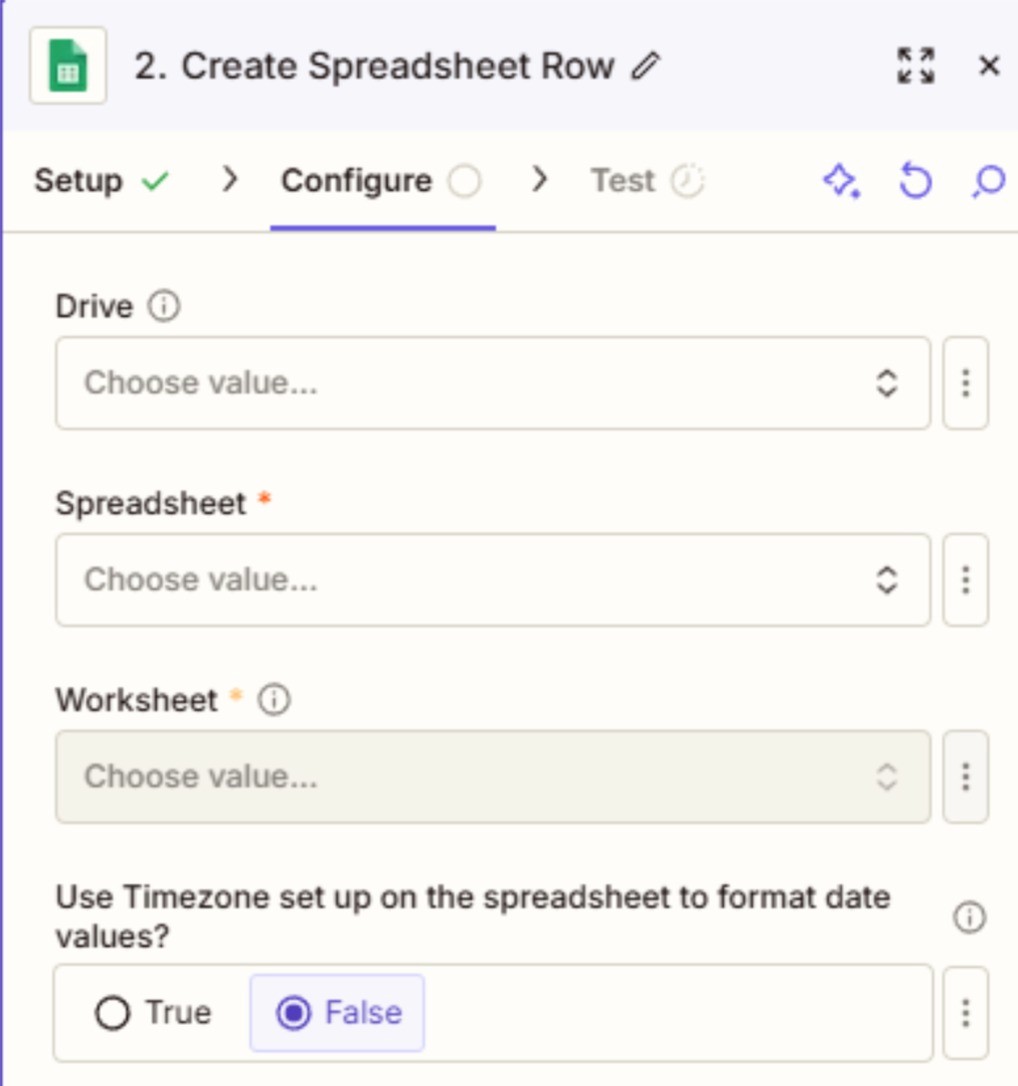
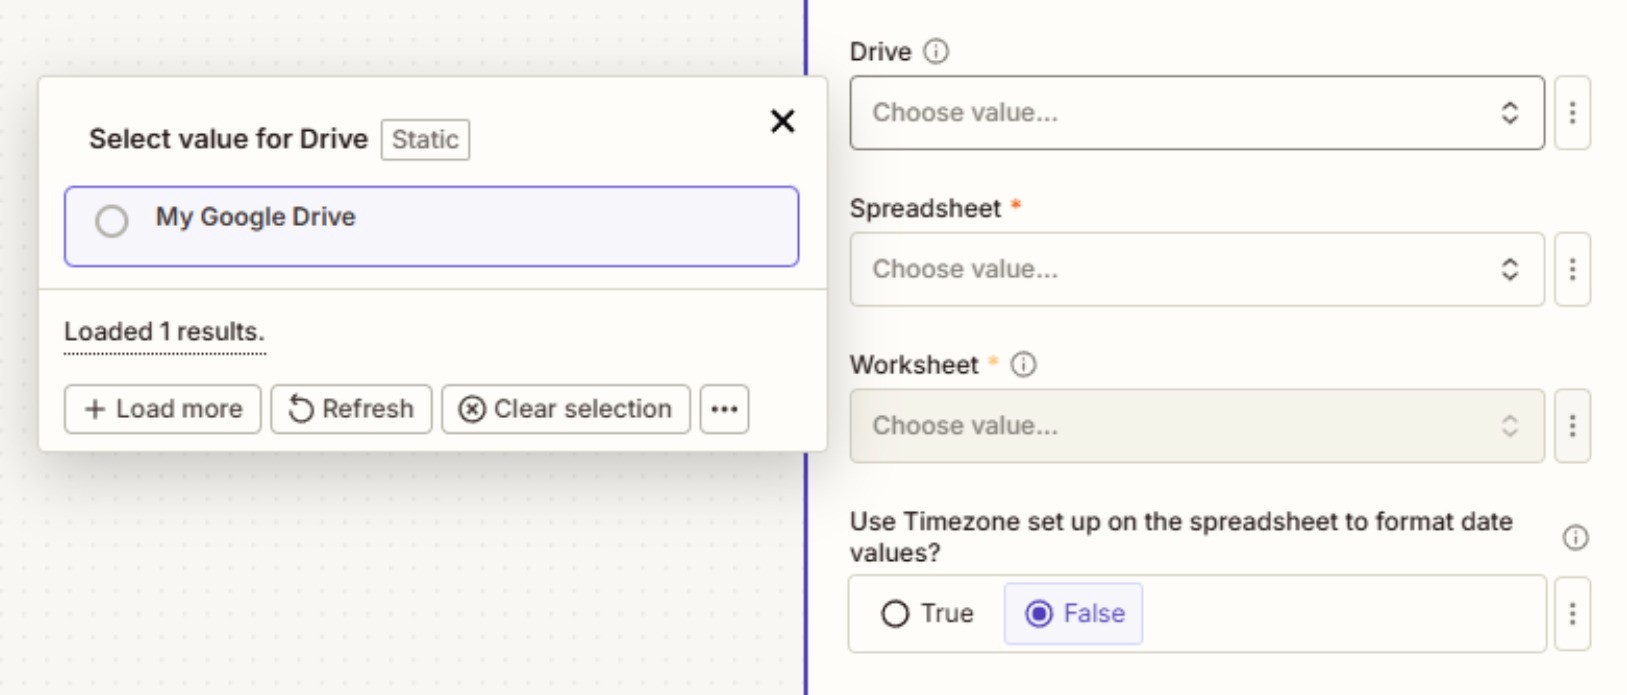
Choose the location of the Google Sheet we made previously.
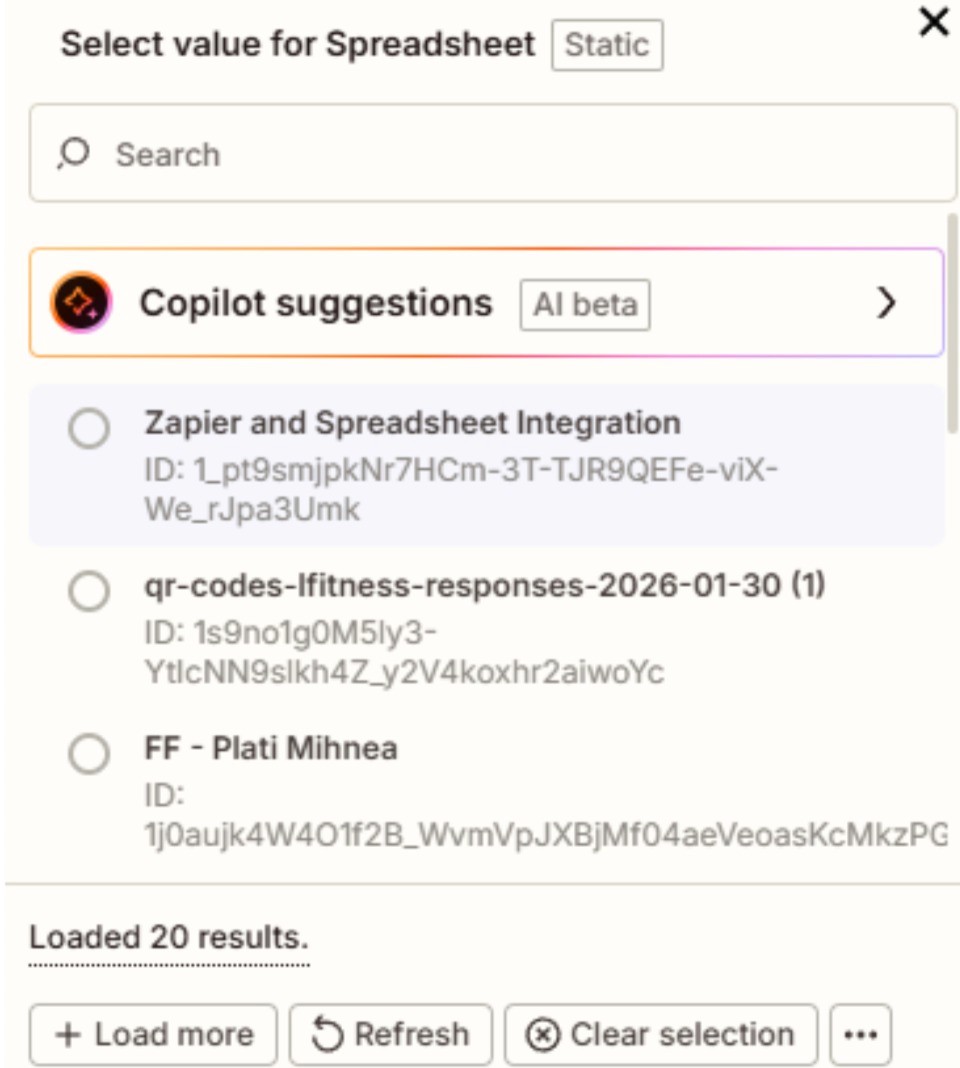
Select which Spreadsheet to use, in our case Zapier and Spreadsheet Integration:
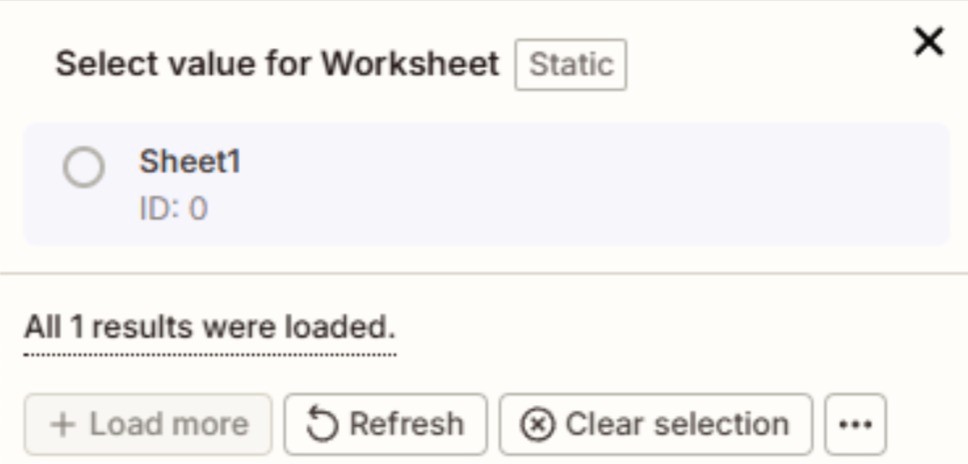
Select the exact Sheet to use, in our case since we have just the default one, we will select Sheet 1, and then we click Continue.
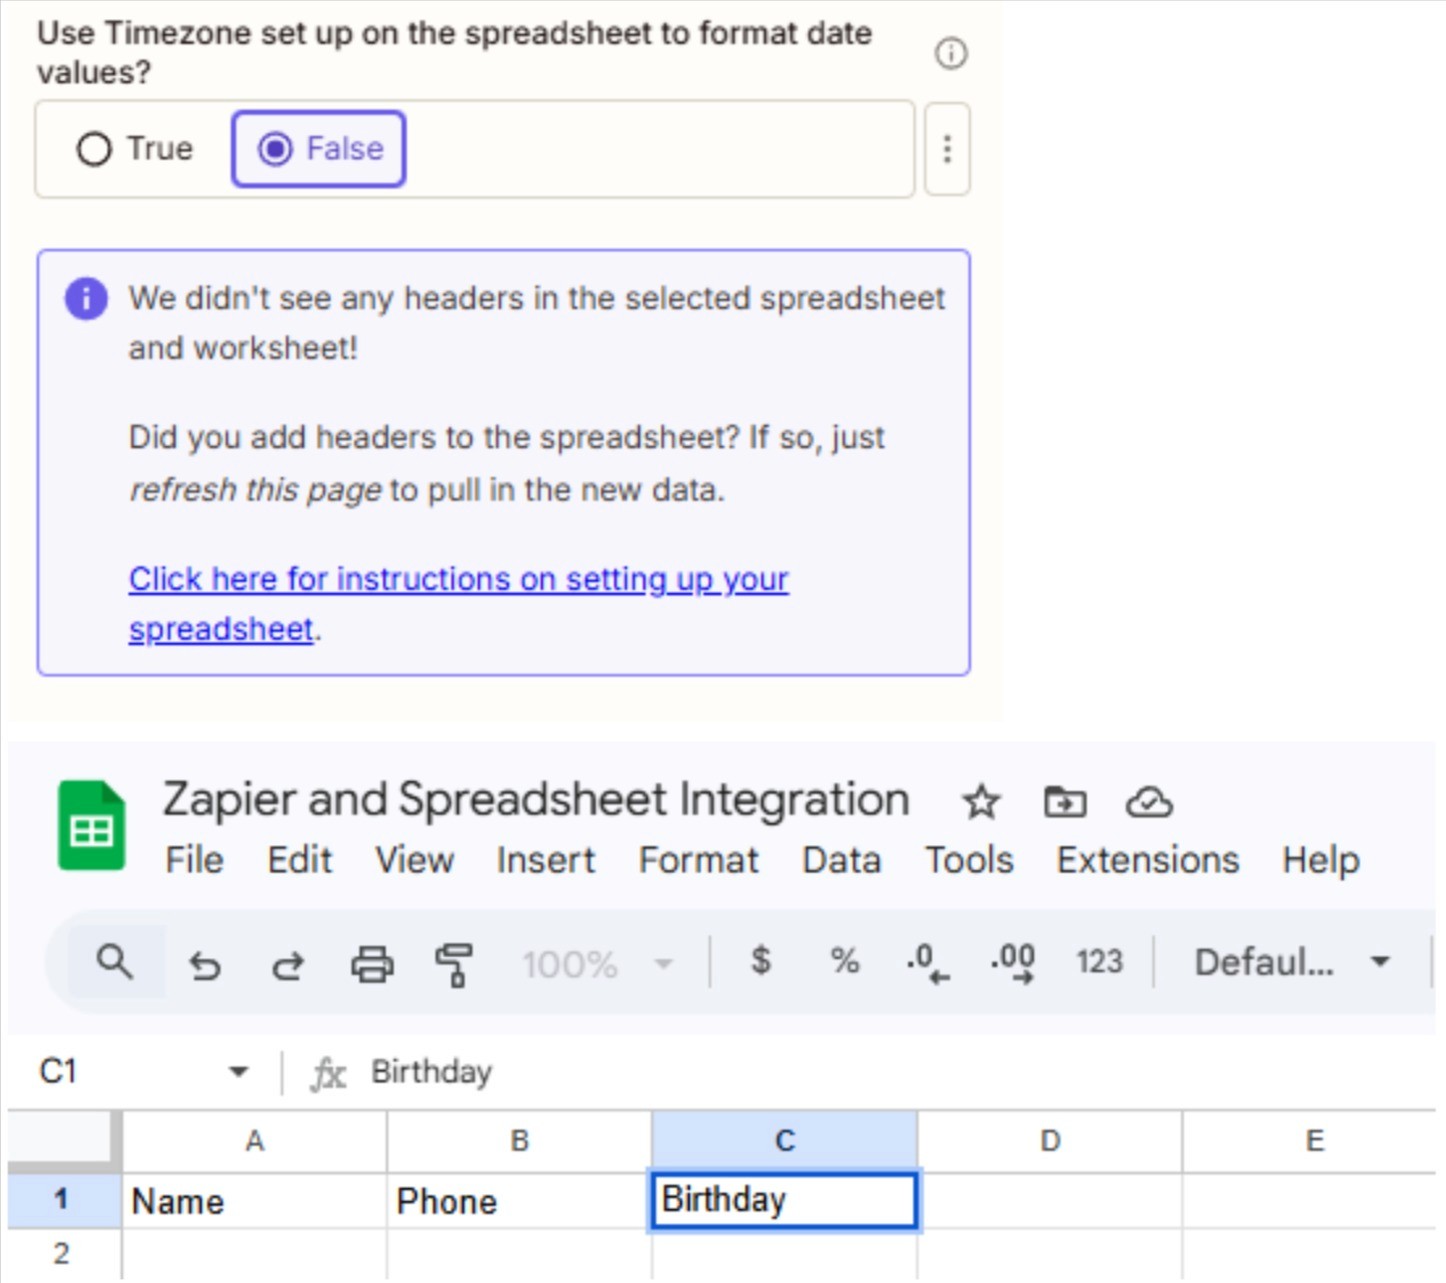
In case you encounter this warning, just go to your spreadsheet and add headers to your sheet and refresh the page in order for Zapier to get the latest version of our sheet.
Now we have the columns inside the Zapier menu
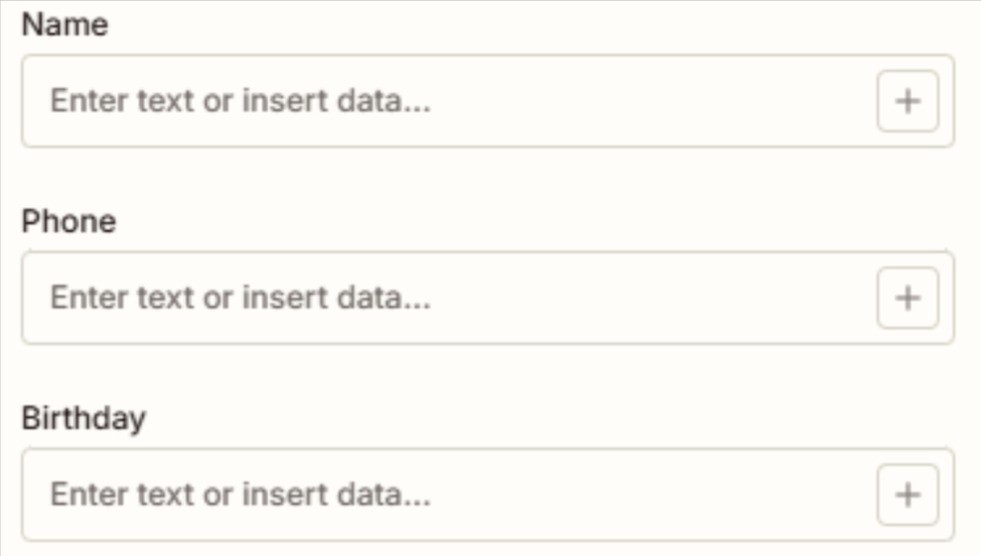
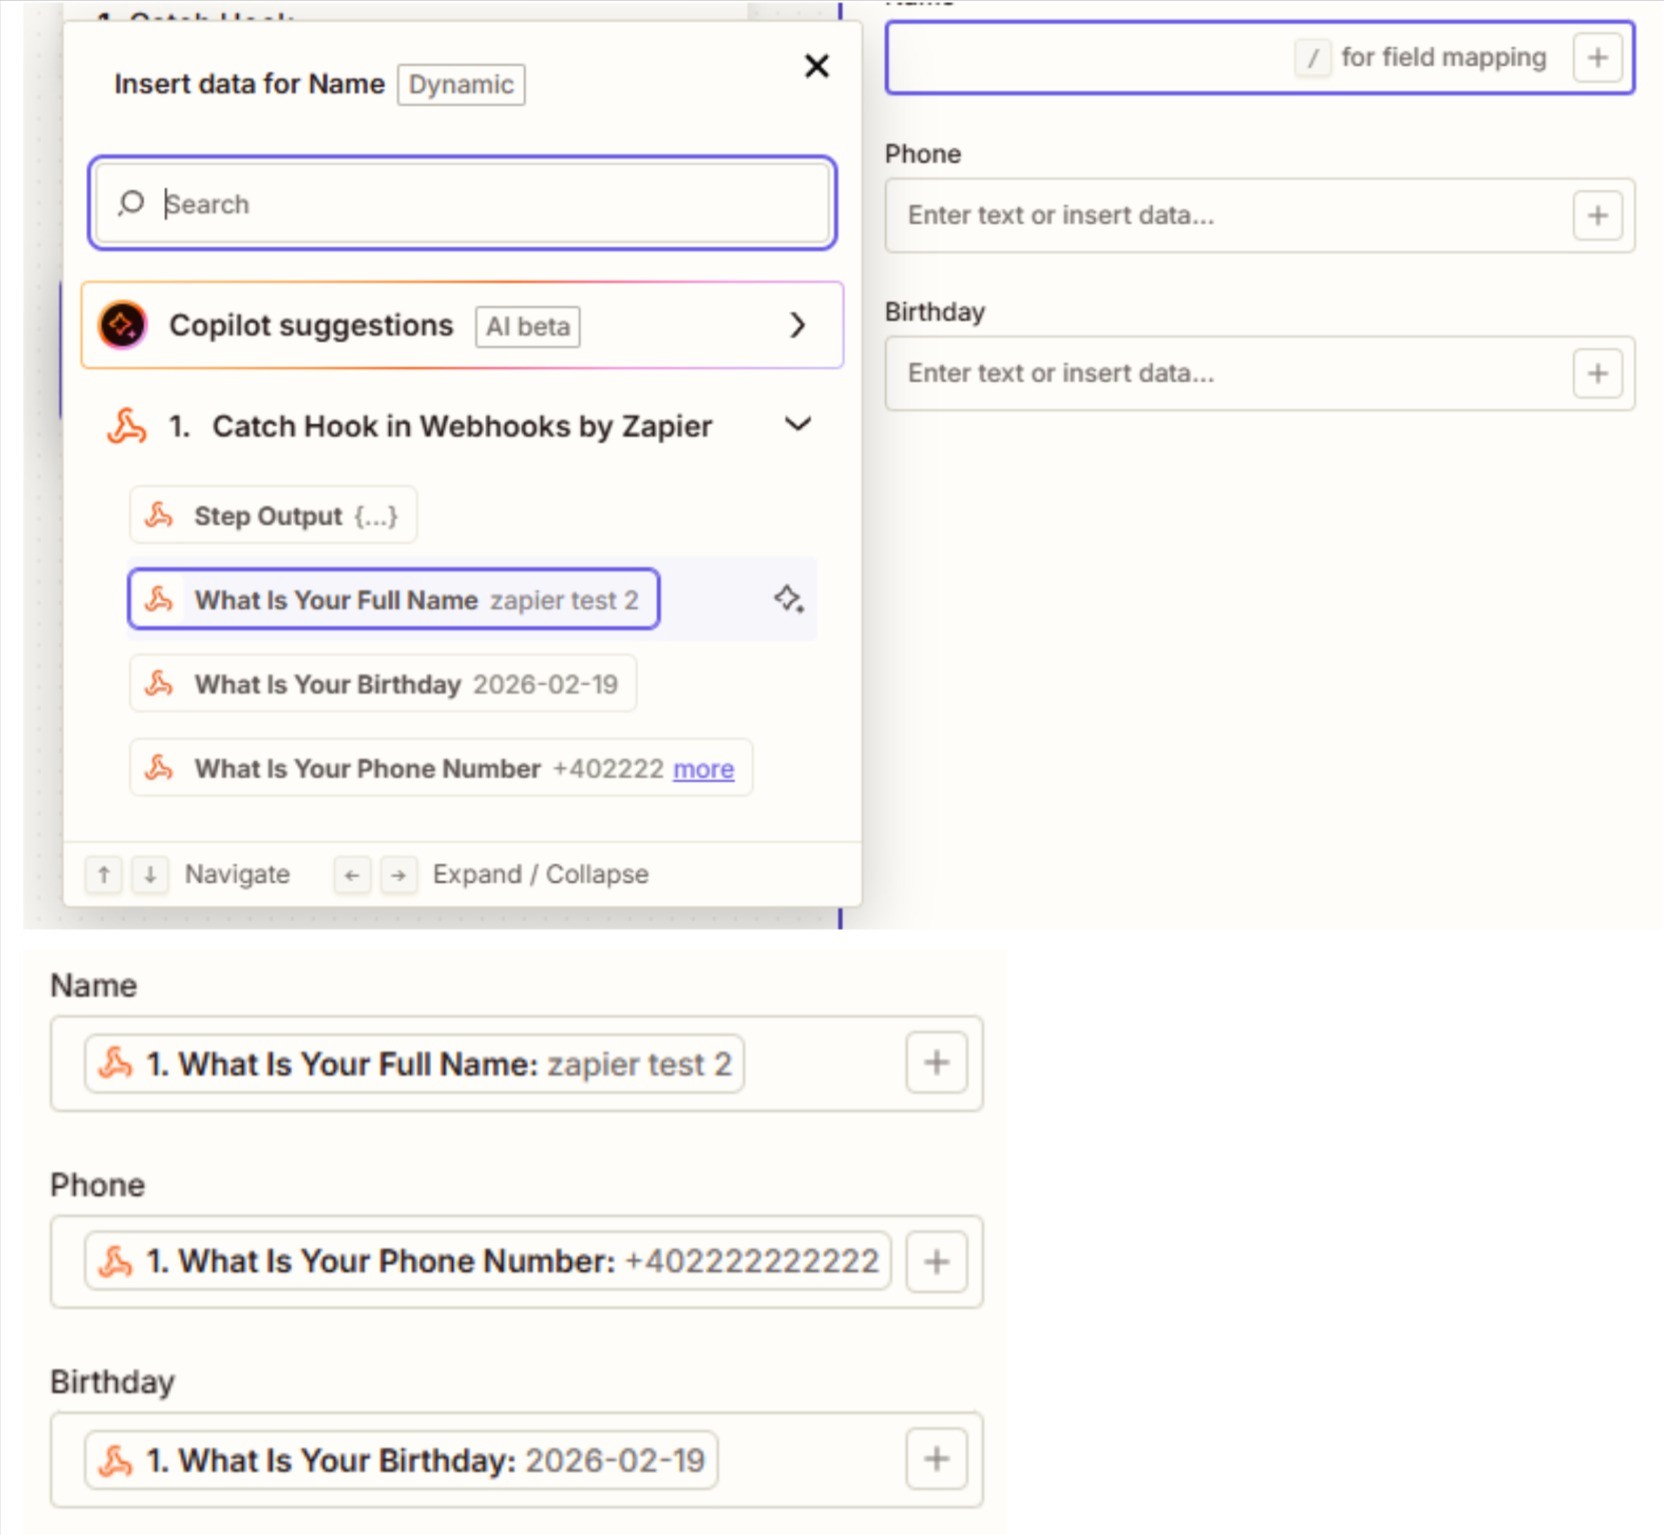
Populate the inputs with the necessary information received from the webhook by pressing the + button like so and click Continue.
Now we just test our setup by clicking the Test Step button and check to see if the data was sent to our spreadsheet.

(Note: You will require a premium Zapier account to publish a setup containing premium features.)