What is Make?
Make is a visual automation platform that lets you connect your apps and build workflows without writing any code. With Make, you create Scenarios that watch for events in one app and automatically trigger actions in another. In this case, every time someone submits a Formflow form, Make will send that data directly into a row in your Google Sheet.
Prerequisites: Formflow account, Google account, Make.com account.
Setting up a new google sheet:
Navigate to https://docs.google.com/spreadsheets, log in using your google account, and create a new spreadsheet or use an existing spreadsheet.
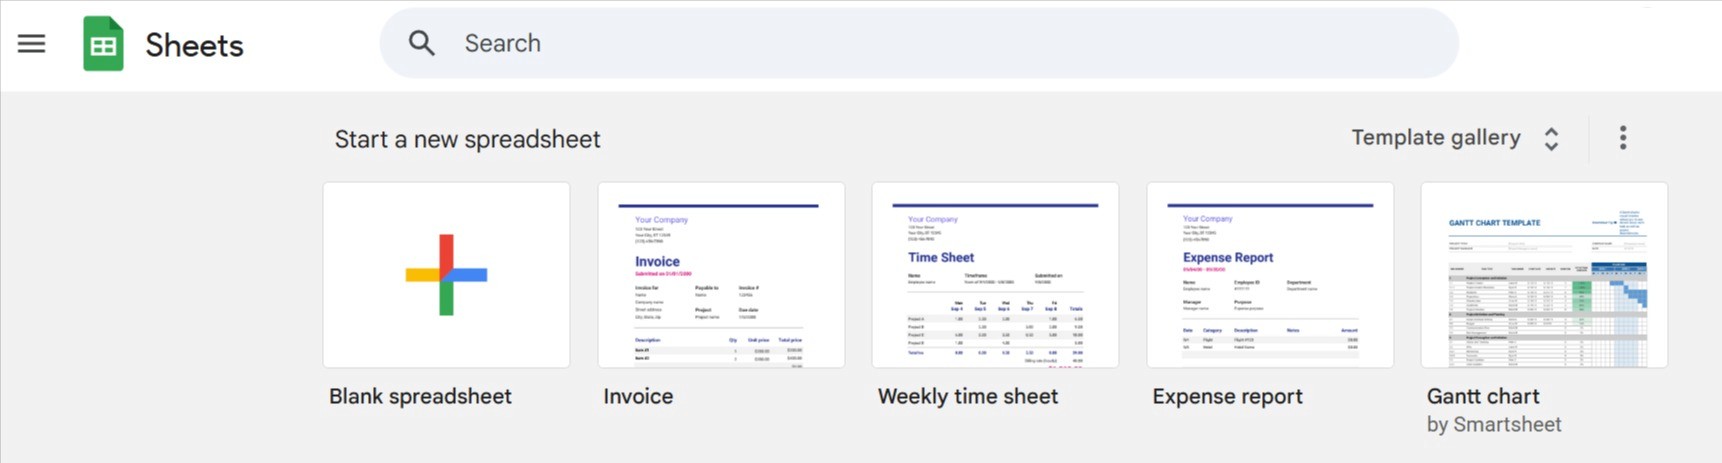
We will create a new spreadsheet for this instance by selecting the blank spreadsheet option.
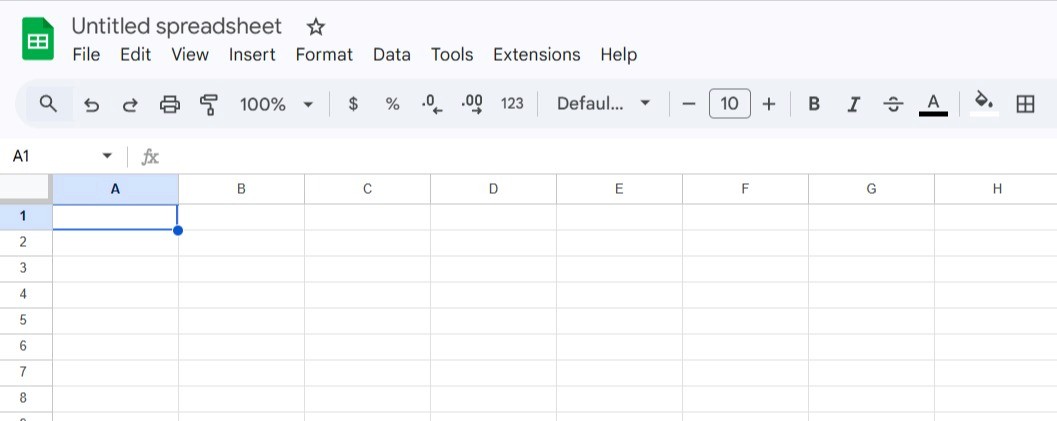
You can rename it in order to be easier to find later.
Setting up Make.com:
Navigate to https://www.make.com/en/login and log in using your preferred method.
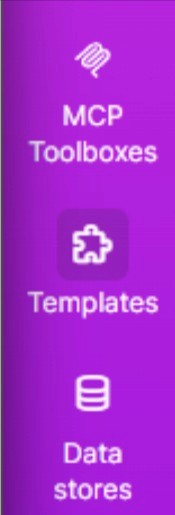
Since our use case is a very common one, make offers a template for this exact scenario. Navigate to the Templates section using the side bar on the left hand side.
Select the Add webhook data to a Google Sheet template.
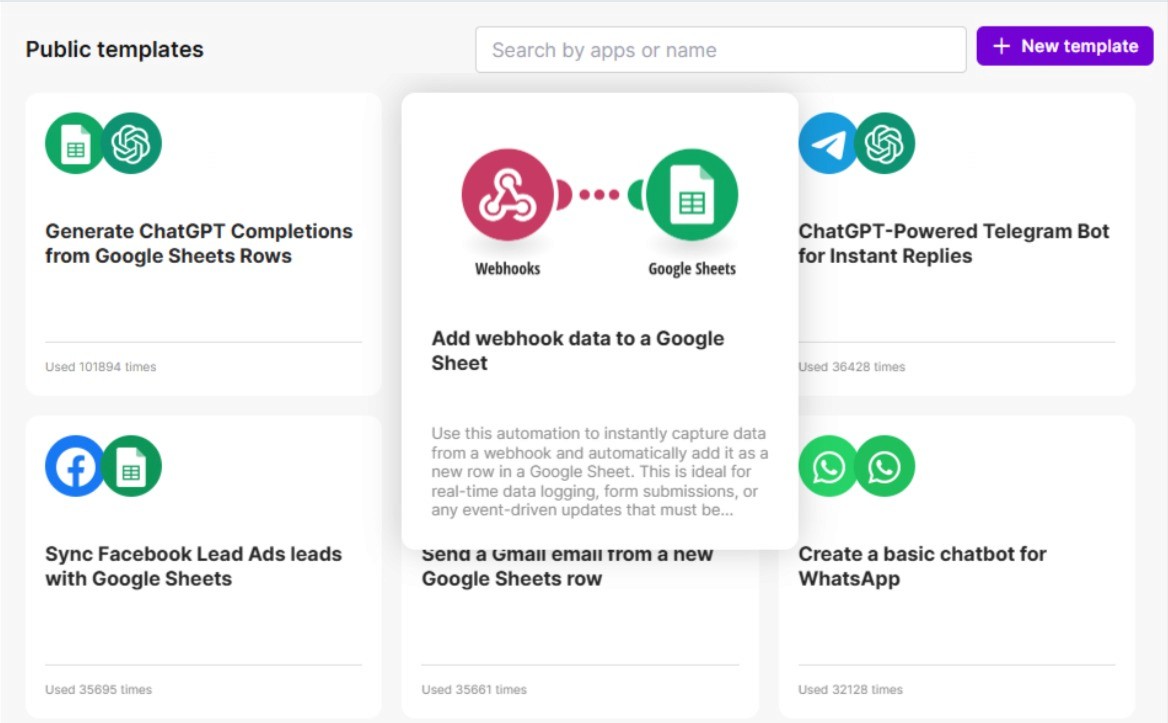
Make offers a guided setup but we will do it manually in our instance, if you encounter issues do consider using the guided setup.
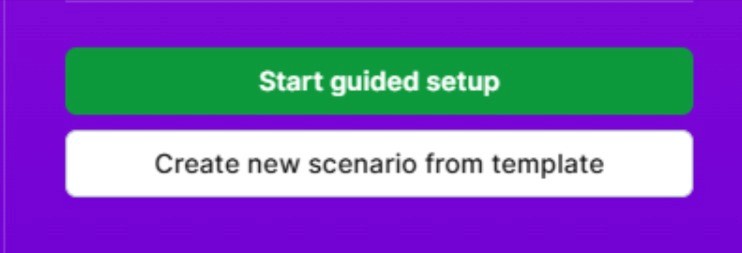
After selecting Create new scenario from template you will be met with this page:
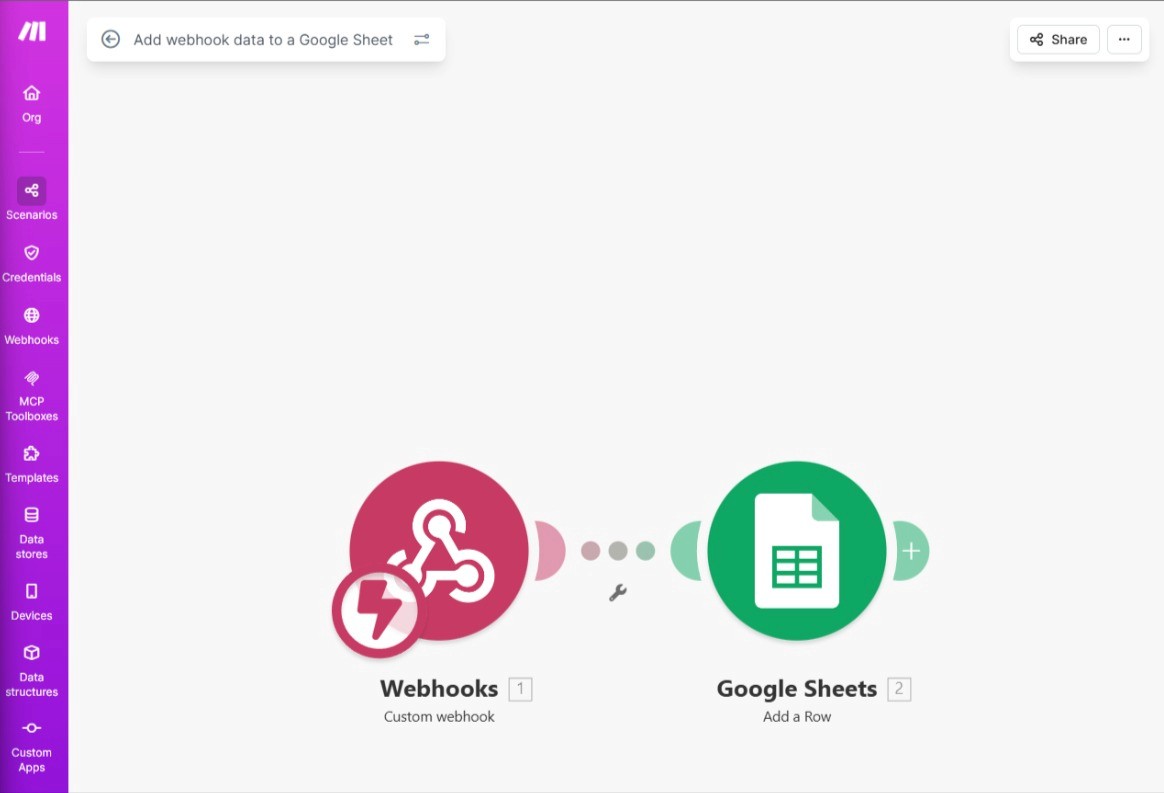
Click the Webhooks module and follow the instructions in order to configure this module.
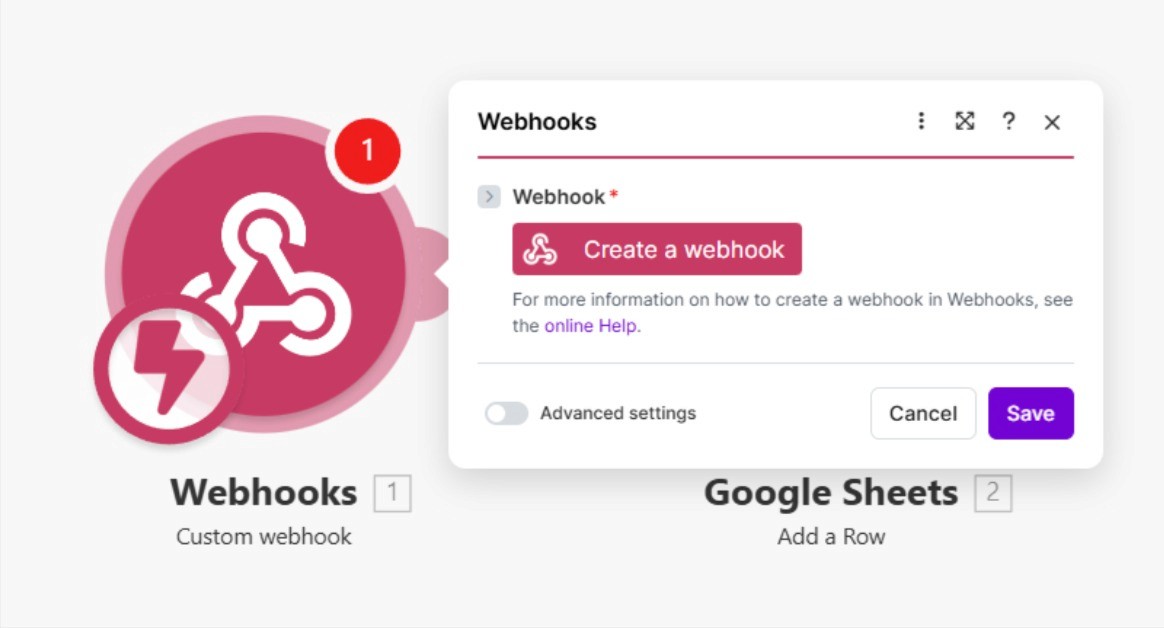
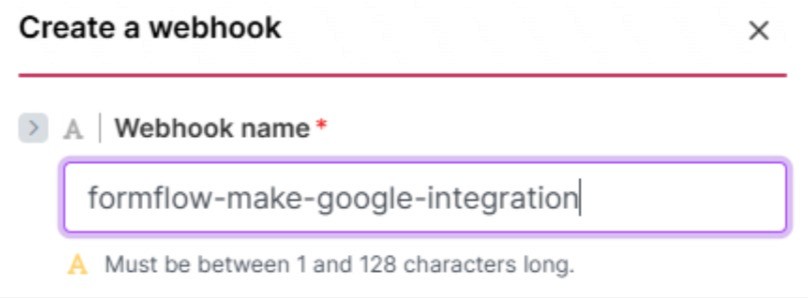
Create a new webhook by completing the required information:
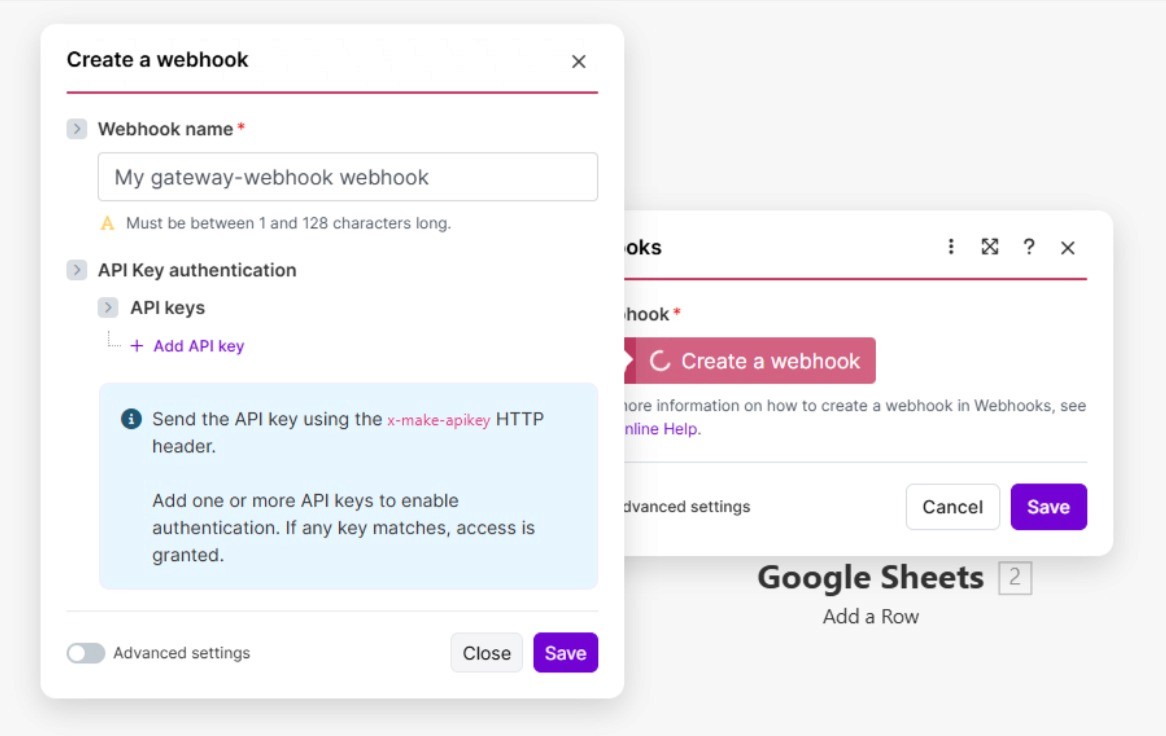
(Note: in case you want a more secure transfer of data, you can add a custom api key, but this key will have to be sent from Formflow as well, requiring a more complex setup)
For this tutorial we will make a basic configuration, by just renaming our webhook:
After clicking save, you’ll see the following menu:
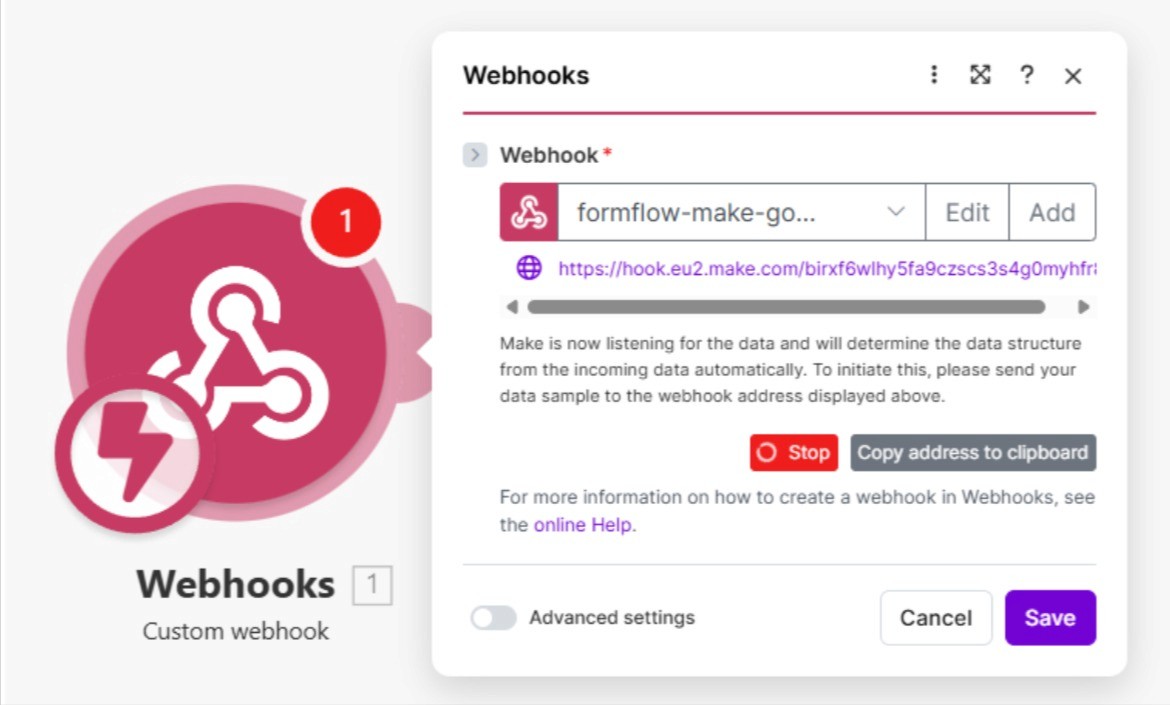
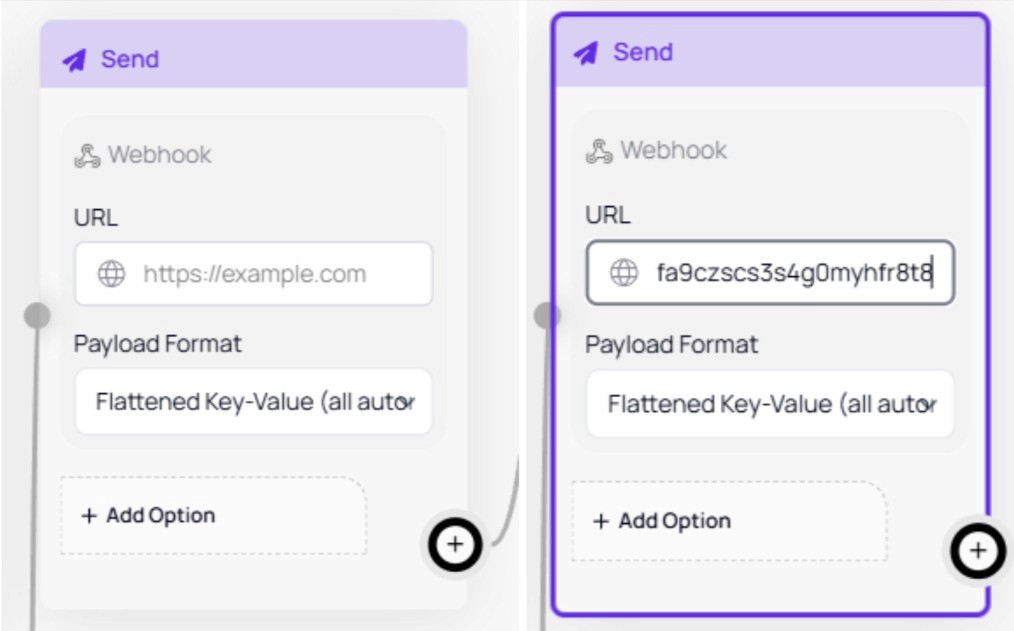
Very important step, copy the address either by clicking the button, or copying the link manually. This link will be used inside the webhook node in our Formflow form.
Update the form in order for the changes to persist.
Now complete a submission of your form, so Make can determine the data structure of our webhook, after the success message is shown, click Save.
This step is very important, because it will allow us to map the values from our form, directly into our Google Sheet.

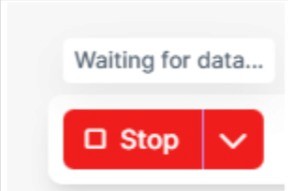
(Note: If the Stop button is still displayed it means Make was unable to determine the data structure. Try to send another webhook until Make successfully determines the structure.)
Now select the Google Sheets module inside the scenario builder and link your google account.
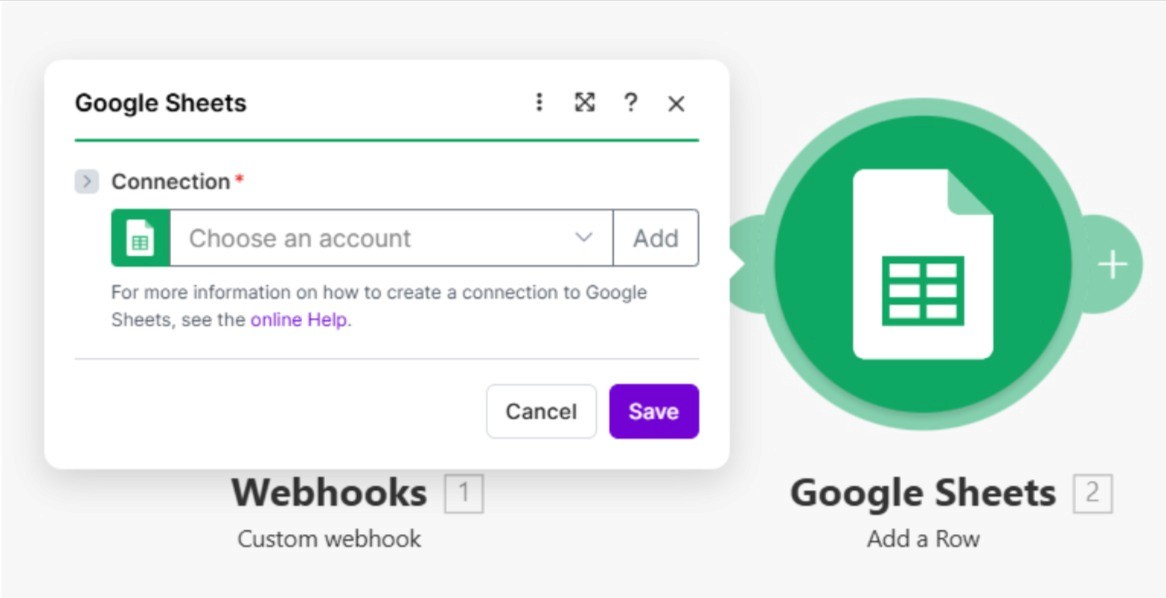
After selecting the account you wish to use, the following menu becomes available:
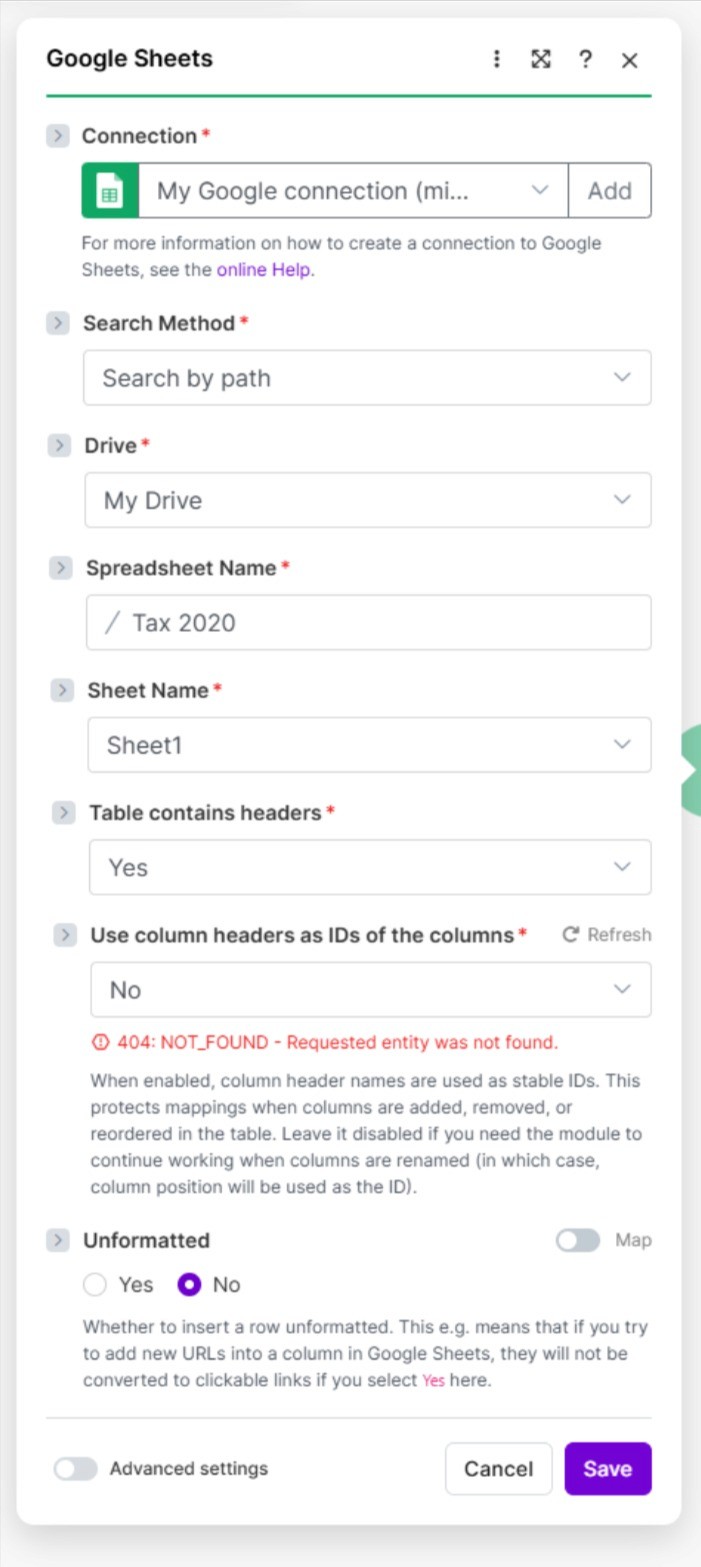
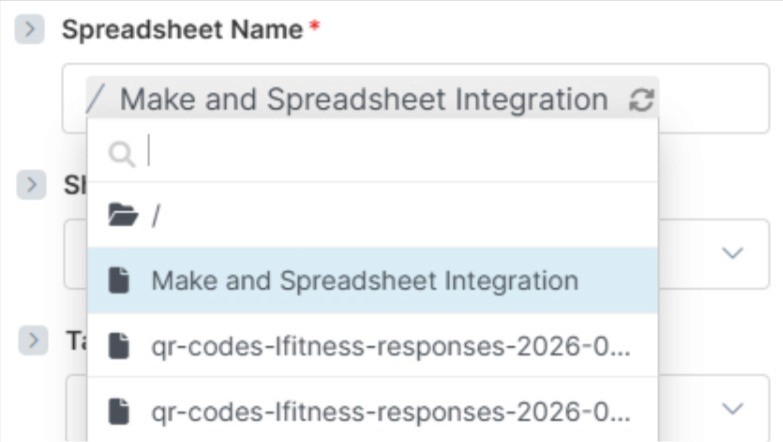
Click the Spreadsheet Name option and select the spreadsheet we’ve created previously.
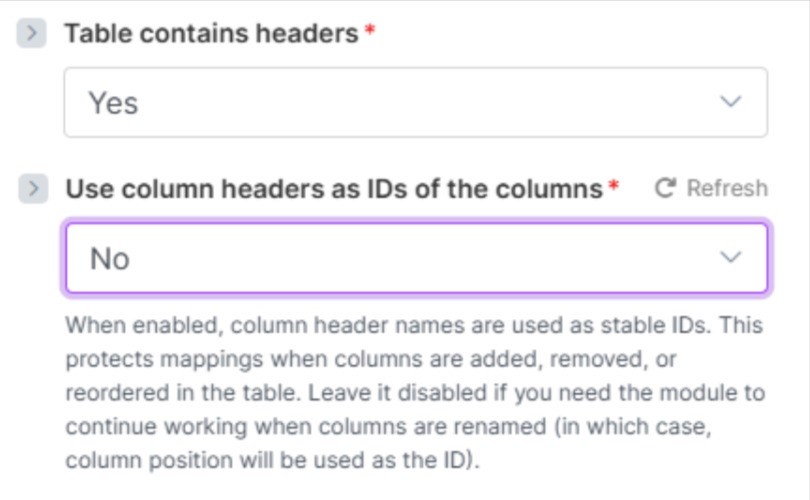
Afterwards select the Sheet Name in our case we only have one possible option so Sheet 1 was selected automatically.

There are more options available, but in our case we will just use the default values.
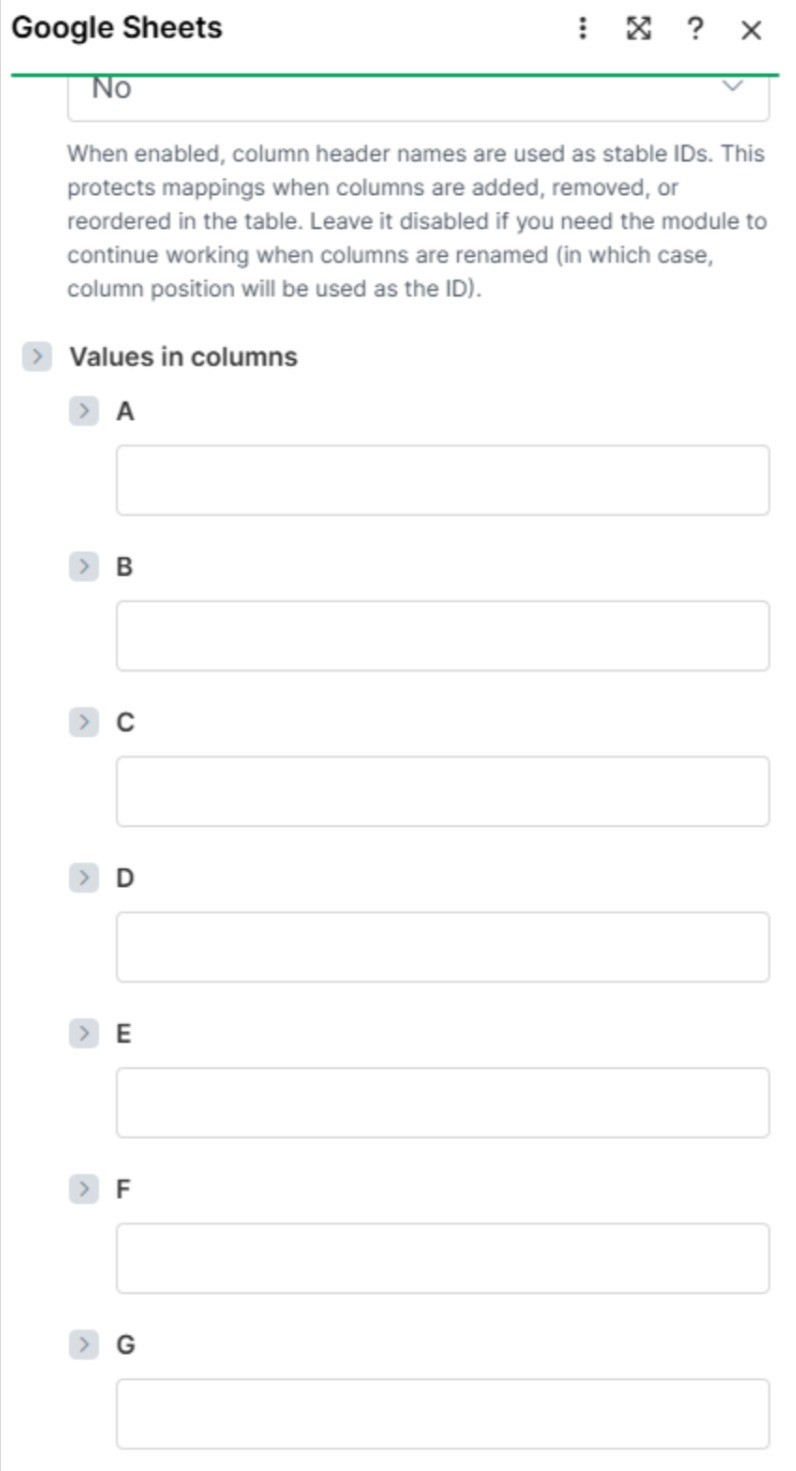
Finally, we get to map our values using the provided Values in columns inputs:
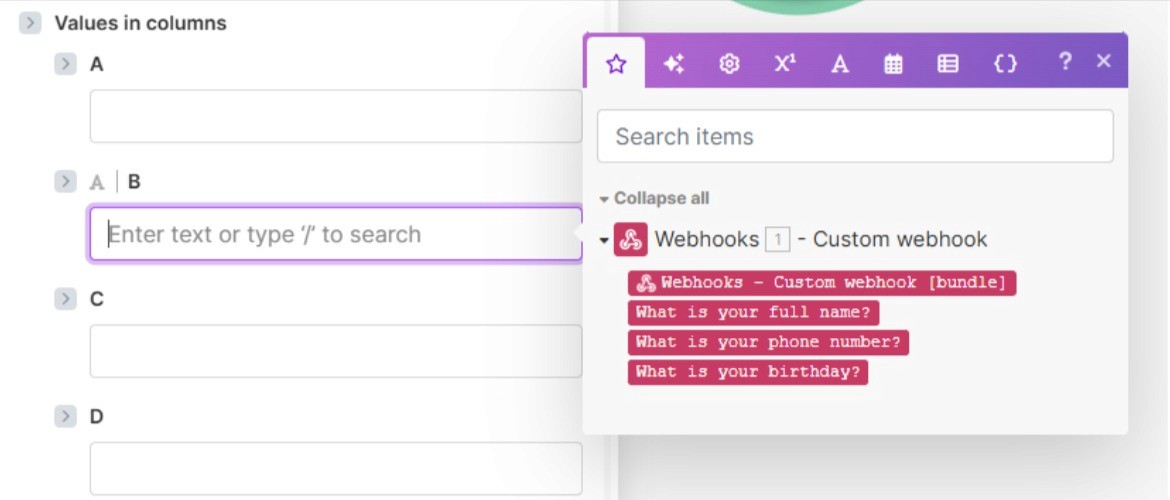
Selecting one of the inputs we are presented with the mapped values from our form:
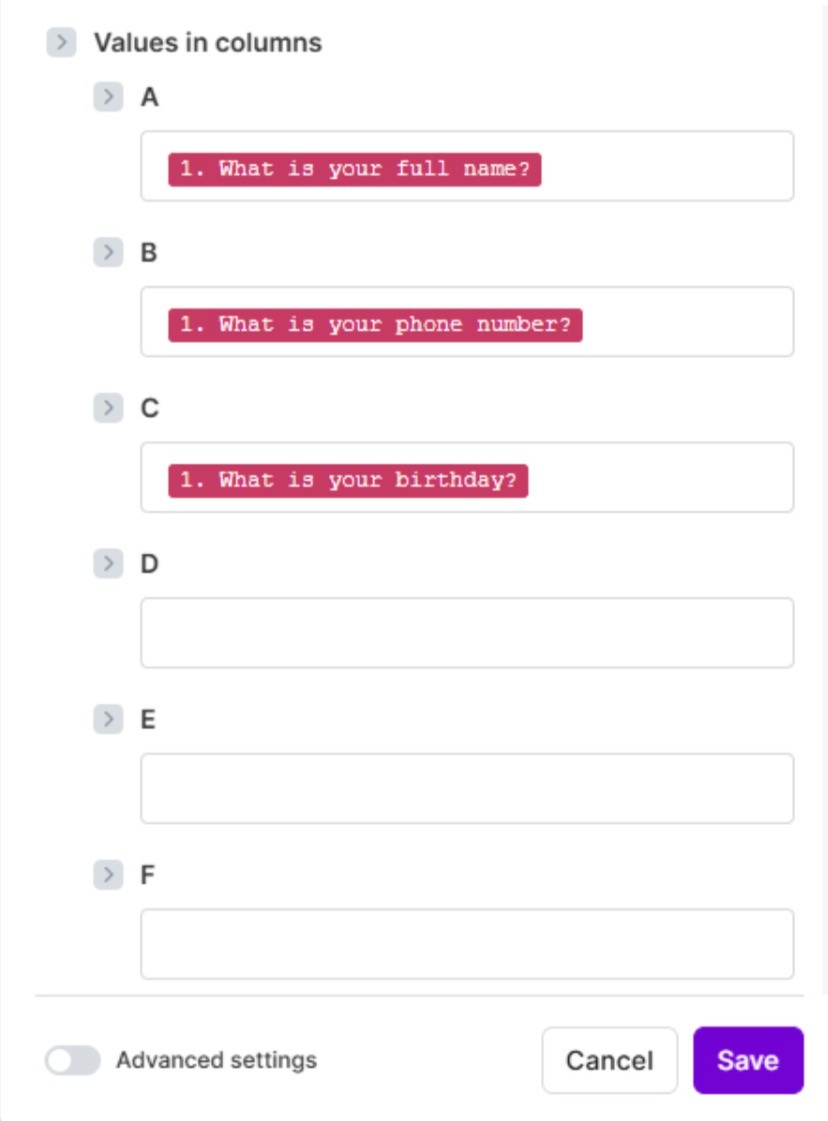
Now we just add our values to the corresponding columns and click Save
You can test your configuration using the island menu on the bottom of the scenario editor, by selecting the Run once option and completing a form submission.

After clicking the Run button:
After submitting your form, you’ll see the checkmarks above your modules inside Make
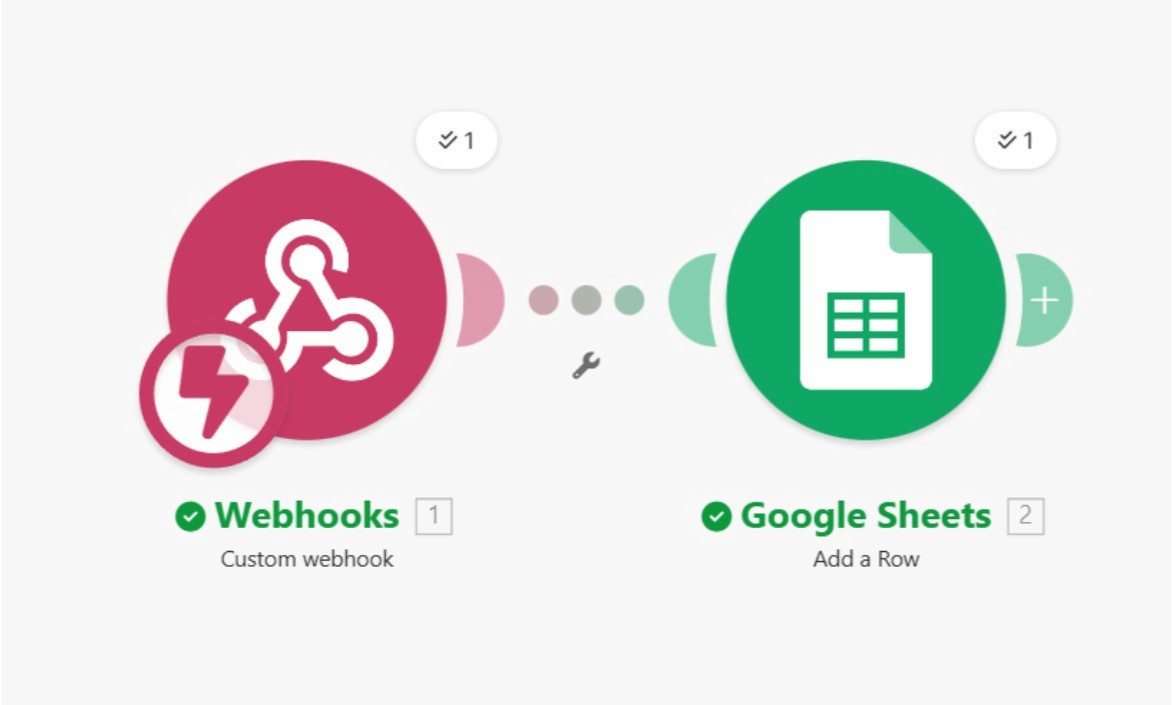
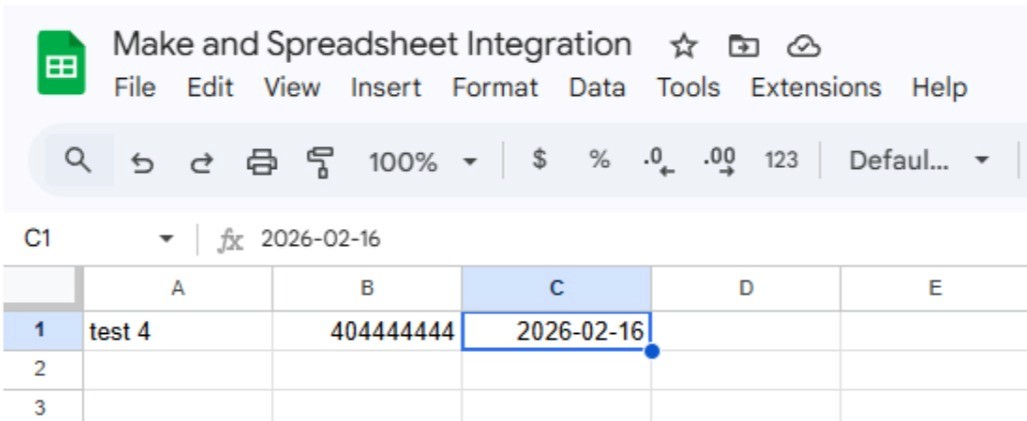
And crucially, the data inside our spreadsheet:
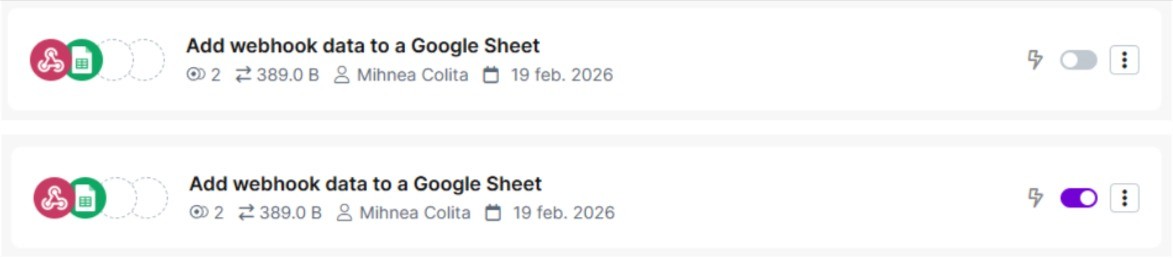
That’s it, now all you have to do is leave your scenario running, and each time a user completes your form, Make will automatically fill it up in the Google Spreadsheet. To do this, navigate to the Scenarios tab using the sidebar.

Toggle your scenario in order to turn it on.
Congrats, you’ve completed your Make & Google Sheet integration!