Page Settings allow you to control form-level configuration such as the form name, browser title, URL, watermark, and kiosk mode.
This guide walks you through each setting and how to use it.
Accessing Page Settings
To open Page Settings, click the gear icon in the upper-right corner of the Canvas navigation bar.
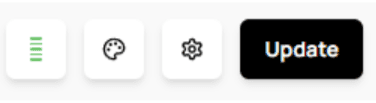
A settings panel will appear: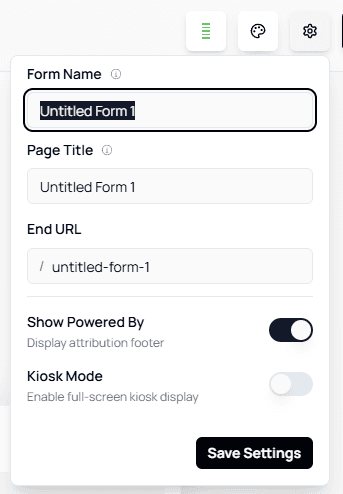
Page Settings Overview
Below is a breakdown of every option inside the Page Settings menu.
Form Name
The Form Name field functions the same way as the Rename options in the Dashboard.
Use it to give your form a clear and recognizable name.💡 Tip:
Choose a name that reflects your form’s purpose — this makes managing multiple forms easier.Page Title
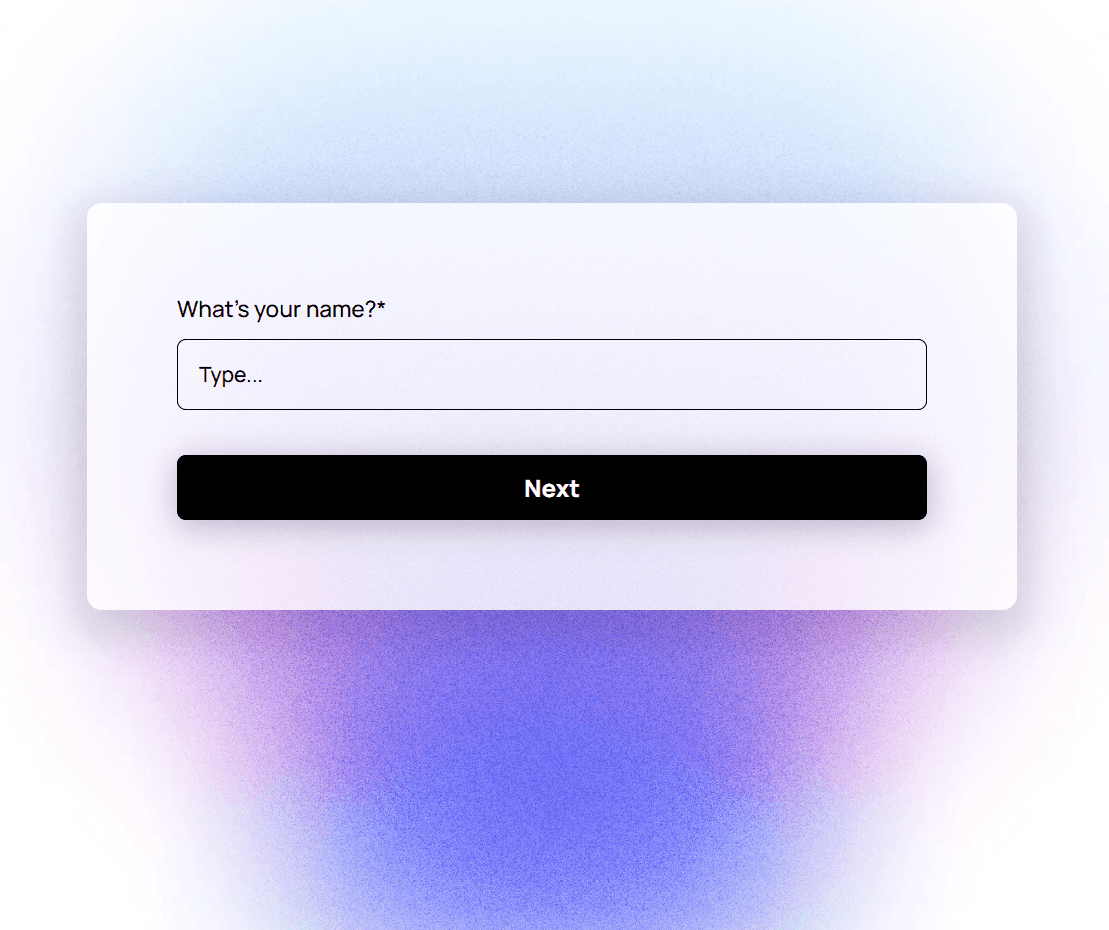
The Page Title controls the text displayed on the browser tab when someone opens your form.
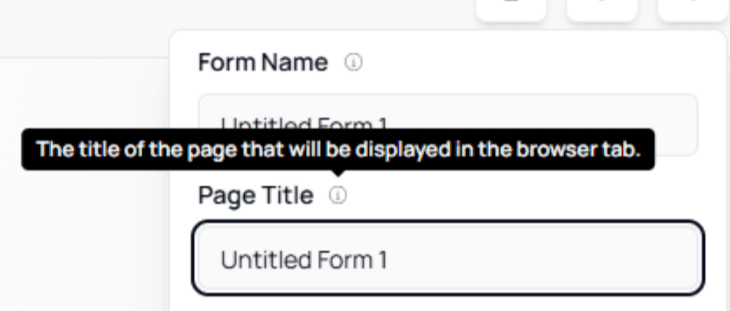
ℹ️ Info:
You can hover over the “?” tooltip inside the interface to view additional descriptions.End URL
This setting lets you customize the last portion of your form’s URL.
For example, changing the field will modify your form link to:
https://app.getformflow.io/organization/my-custom-link
🔗 Important:
Keep your custom URL short and readable. Avoid spaces and special characters to prevent broken links.Powered By Toggle
This toggle allows you to show or hide the Formflow watermark at the bottom of your public form.
ON: watermark is visible
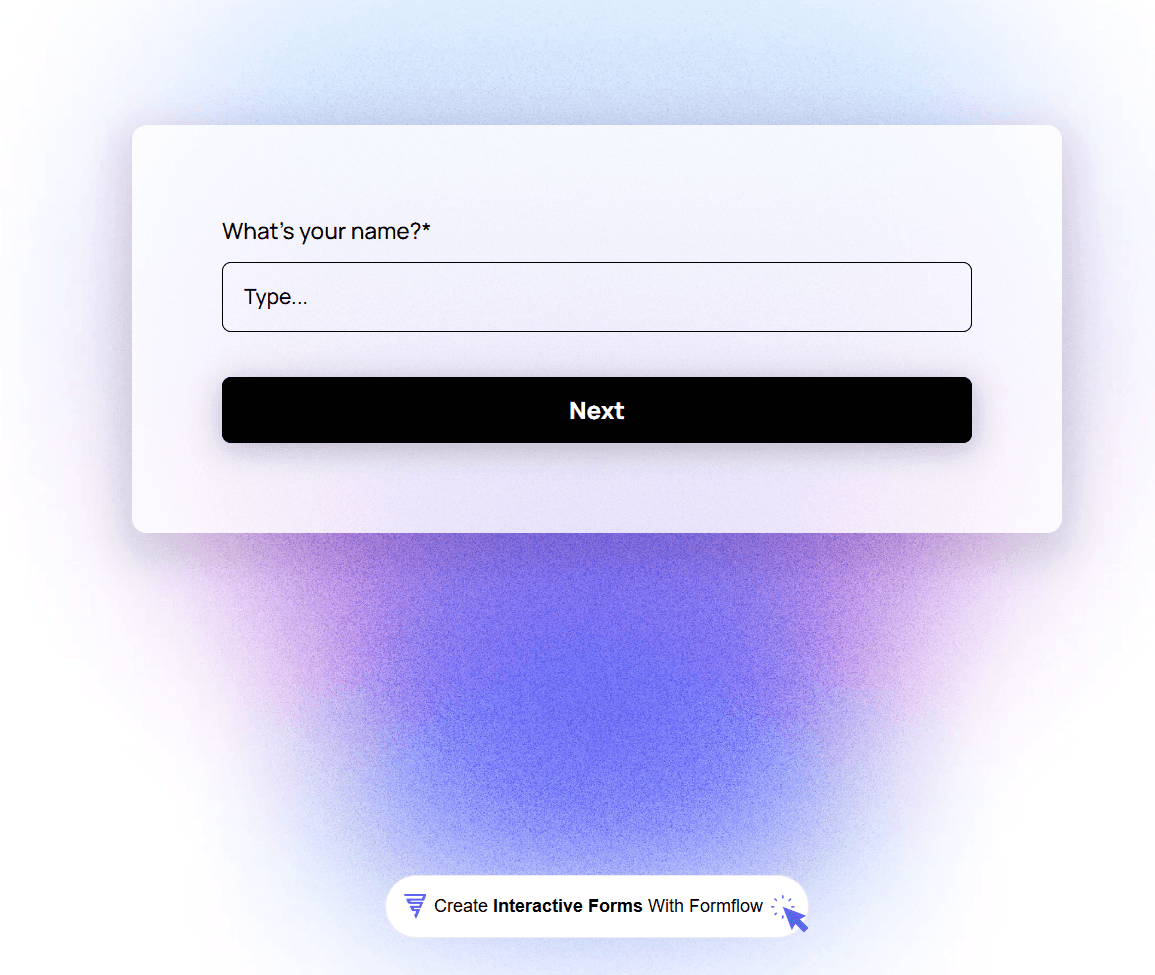
OFF: watermark is hidden
💡 Tip:
You may want to disable the watermark when embedding forms into branded landing pages.Kiosk Mode
Kiosk Mode adds special functionality for forms used in shared devices, booths, events, stores, or physical kiosks.
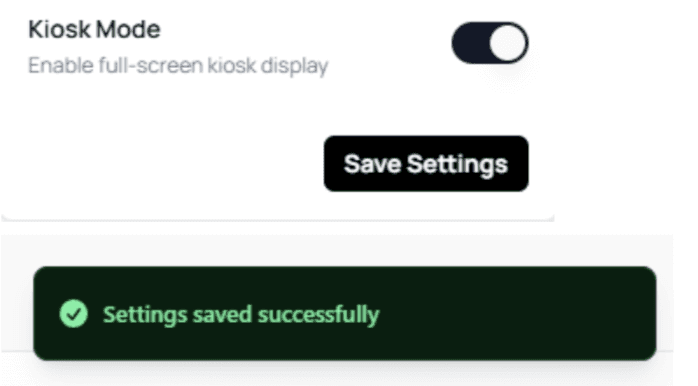
To enable it:
Toggle Kiosk Mode ON
Click Save Settings
A success message will appear confirming the change
What Kiosk Mode Does
The features below describe what becomes available when Kiosk Mode is enabled:
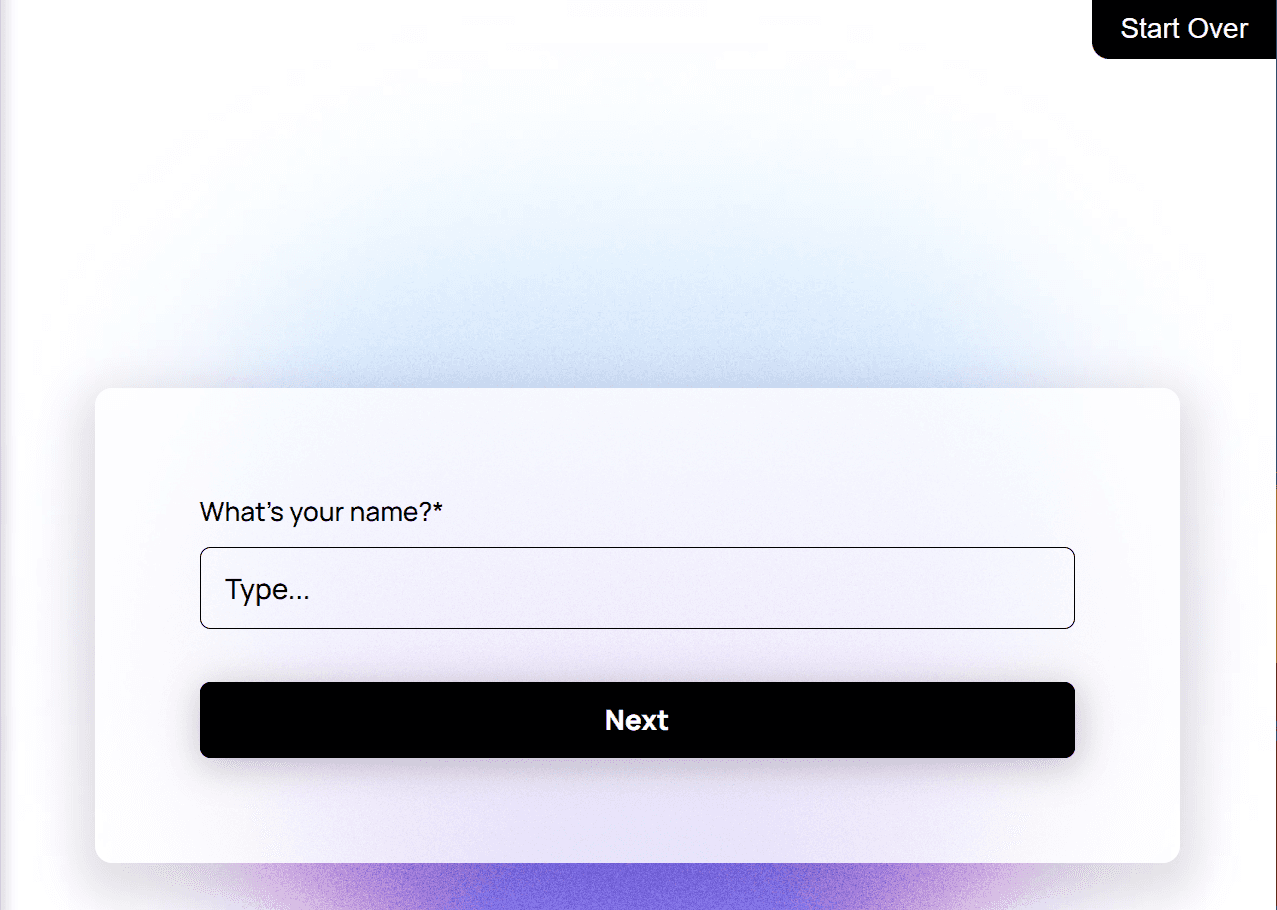
Adds a “Start Over” button
Users can reset the form at any time.
Automatically resets the form after completion
Once a user finishes the form, it resets automatically after 5 seconds.
A notification appears informing the user of the reset.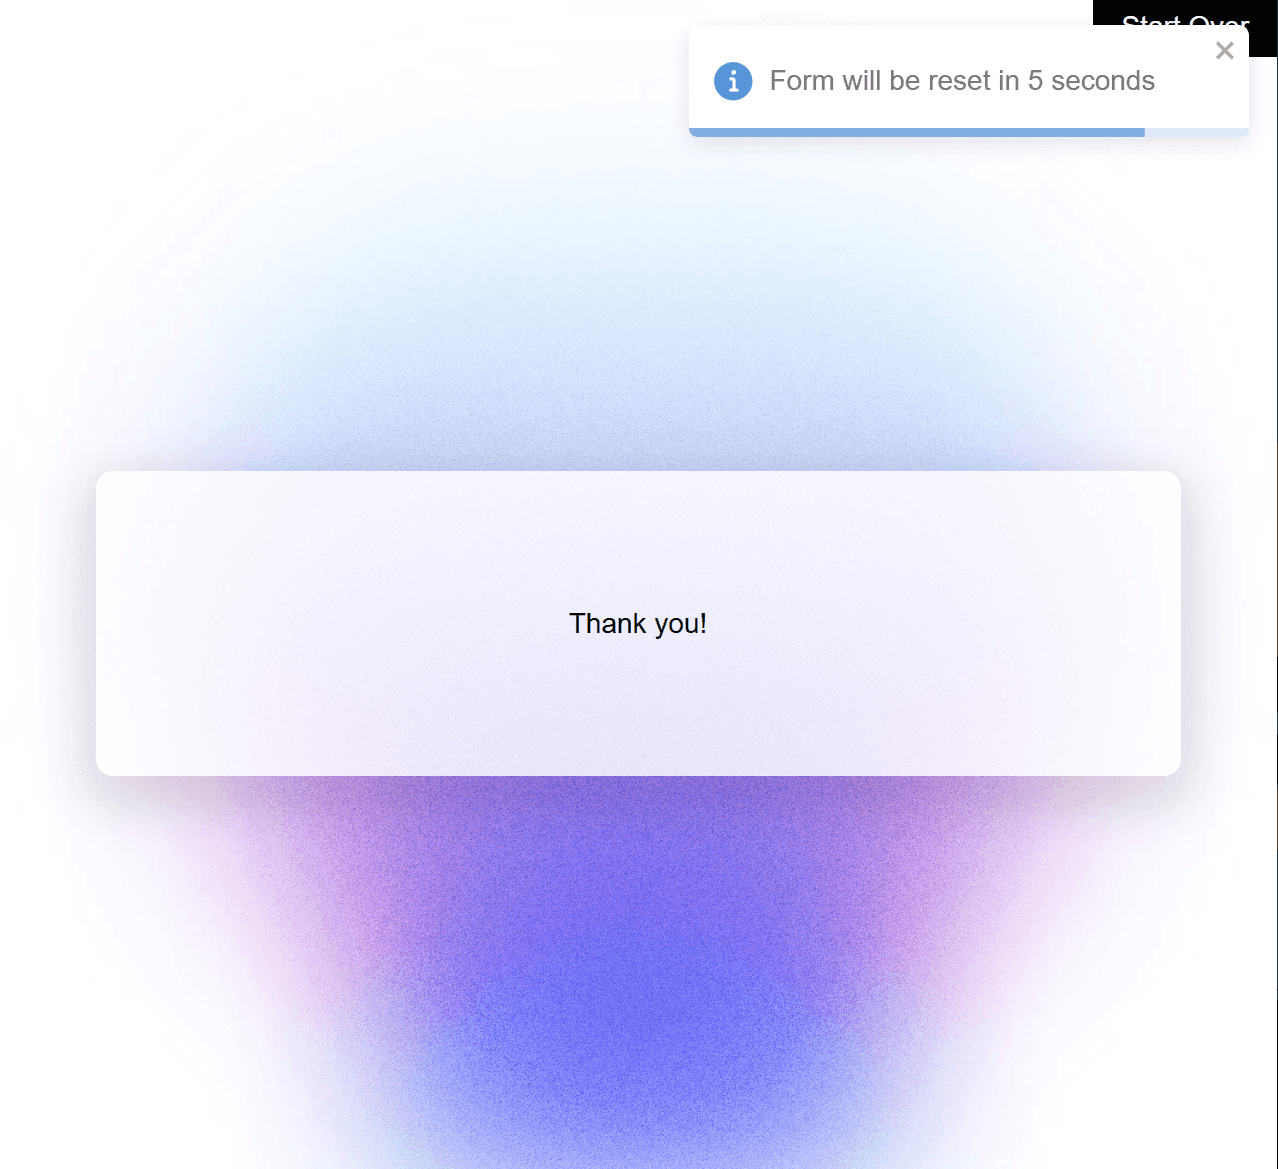
⚠️ Warning:
Automatic resets are immediate. Ensure the form is not used in situations where users may need to review their submission afterward.
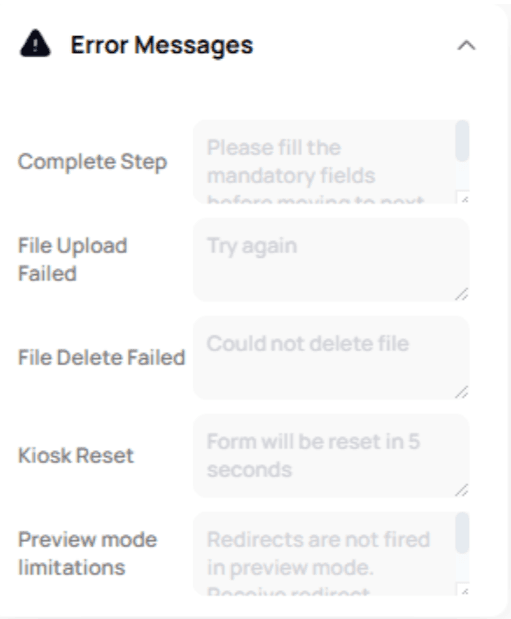
Customizing the Reset Message
The kiosk reset message can be customized in the Style Editor under:
Error Messages → Kiosk Reset
ℹ️ Info:
The Style Editor includes many other appearance and message customizations — covered in its own dedicated documentation section.
🎉 You're all set!
You now understand how to adjust Page Settings, customize URLs and titles, show or hide branding, and enable powerful kiosk features.